

This is the last week of homeschool preschool before Christmas break! It’s hard to believe that we’ve come this far, and I feel very accomplished!
After this week of planned Christmas activities, we will be taking off 2 weeks for Christmas/winter vacation, and picking back up in the first week of January! But I will continue to post various activities that we do throughout our Christmas break on Instagram @discoveringmommyhood!
So if you don’t already follow me over there, I hope you’ll join me!
**This post contains affiliate links, which means I may receive a small commission, at no extra cost to you, if you make a purchase through a link. Please see my full disclosure for further information.
Activities For Preschool Christmas Unit Plan
Now onto the reason you’ve come to this post! Here are the Christmas crafts and activities we have planned for this next week : )
Day 1: DIY Ornament
Today, we will be making our own ornaments!
I got these clear plastic ornaments from the dollar store. But I’ve seen them at other craft stores like Michaels and Hobby Lobby as well.

Here are similar ornaments I found on Amazon.

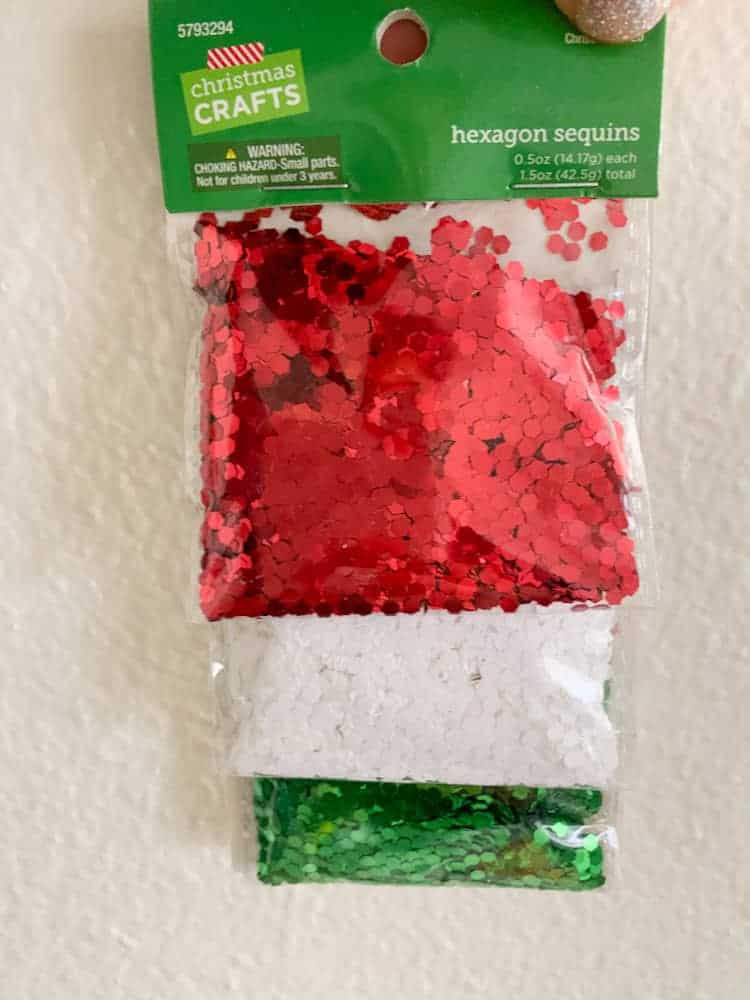
And we will be filling these ornaments with faux snow and glitter! I also got these from the dollar store and Hobby Lobby.
I’ve also used sea salt as faux snow in the past, and it looked really great as well.
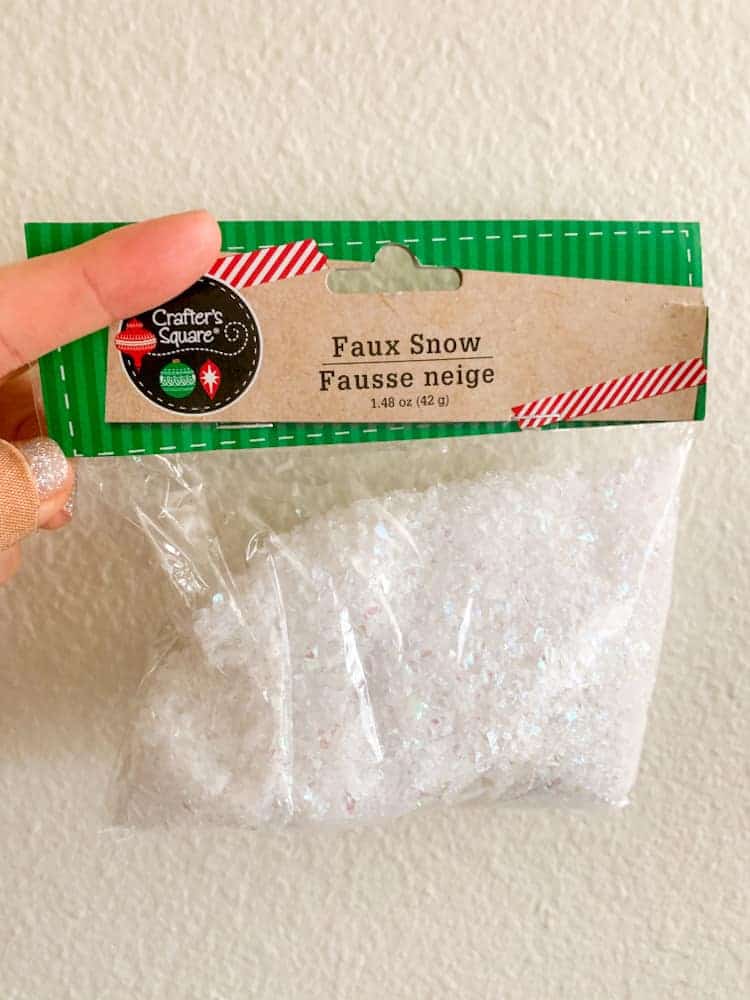
I do not have a funnel, but will be rolling up a sheet of paper into a funnel to help contain the mess.
Easier Option: I think an easier way of decorating ornaments can be just letting your child decorate the ornament with stickers. Various craft stores have sticker booklets or even foam stickers that are quite affordable.
Fancier Option: I’ve also seen other people use mod podge on the inside of the ornament and then putting in some glitter (that is more finely milled). And those look really amazing as well.
Day 2: Paper Christmas Stocking
I used to do this activity with my first graders back when I was teaching. This stocking template will be included in this week’s lesson plan download.
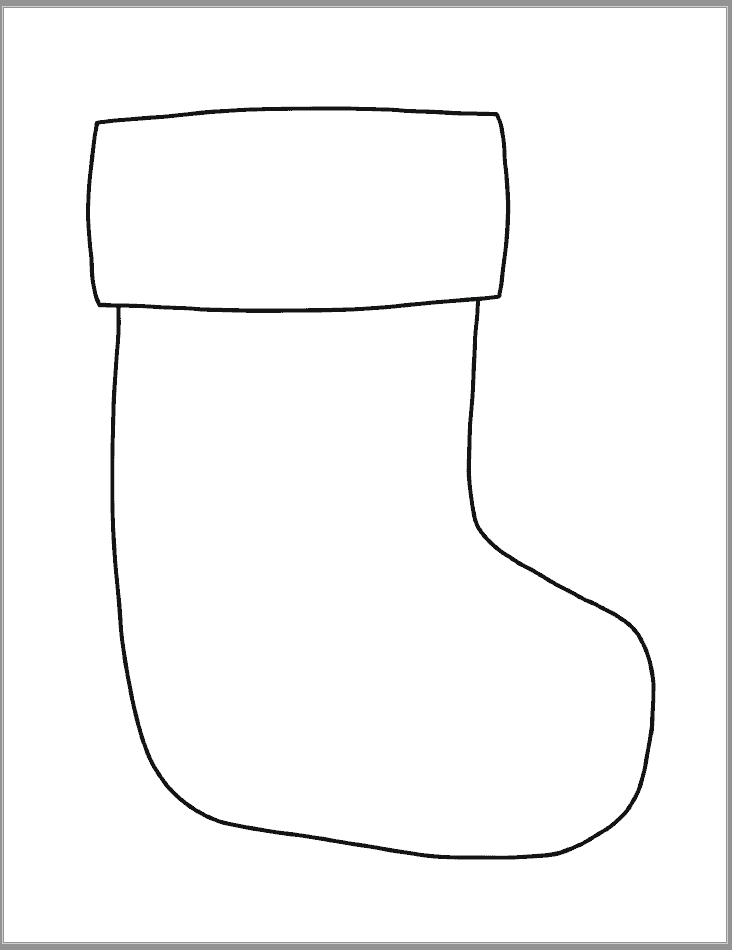
Materials Needed:
- Traceable Stocking Template (in lesson plan download)
- Construction paper or cardstock
- Scissors
- Hole Punch
- Twine/Yarn
- Optional: Cotton
Step 1
Cut out template and trace onto red or green construction paper. Alternatively, you could print it directly onto red or green cardstock.
Step 2
Stack two stocking cut-outs and place them on top of each other.
Step 3
Punch holes along the edges of the stockings.
Step 4
Weave yarn or twine through the holes to hold the two sides of the stockings together.
Step 5
Using white paper or cotton, create the top lining of the stocking, and you’re done!
Here’s how ours came out!
Day 3: Paper Strip Christmas Tree
We made a similar activity for our pumpkin unit a couple months ago. This time, we will be making a Christmas tree!
Instead of strips of paper that we used in the pumpkin craft, we ended up using strips of washi tape. This traceable template will be included in the lesson plan download.

Here is how our washi tape Christmas tree craft turned out!
Day 4: Cardboard Nature Wreath
I saw this activity on Little Pine Learners and wanted to try it out! Head over there for step-by-step instructions on how to make a really cute and simple nature wreath!
Day 5: Ornament Alphabet Trace
I thought we could review the letters of the alphabet by making alphabet ornaments!
The printable download has all the letters included, but we will only be doing letters A-M, since those are the letters we have studied so far.
There is a colored version or a B&W version available. This template is included for FREE in this week’s lesson plan template!

How to use the Ornament Alphabet Trace
Option 1: I think the easiest way would be to print it, cut it, and then laminate it, and then use a dry erase marker to trace the letters.
Option 2: If you don’t have a laminator, you can print, color, cut, and place them in a clear plastic sheet and trace the letters with dry erase marker.
Christmas Books
I have a whole post dedicated to all our favorite Christmas books. And I keep adding to the list, because there are so many good ones out there! Check out the post here.
Here’s a snippet of it in video form:
Letter of the Week: M
These printables are also included (FREE) in this week’s lesson plan download!

Letter M Song
Bible Verse

Download Christmas Lesson Plan FREE Printables Included!
Fill out the form below to get your Christmas Lesson Plan (including all the printables) sent directly to your email!
Recommended For You:
If you liked this lesson plan, I think you’ll enjoy these posts as well!
Follow Me on Instagram!
I share our daily activities over on Instagram @discoveringmommyhood I hope you’ll join me there!

