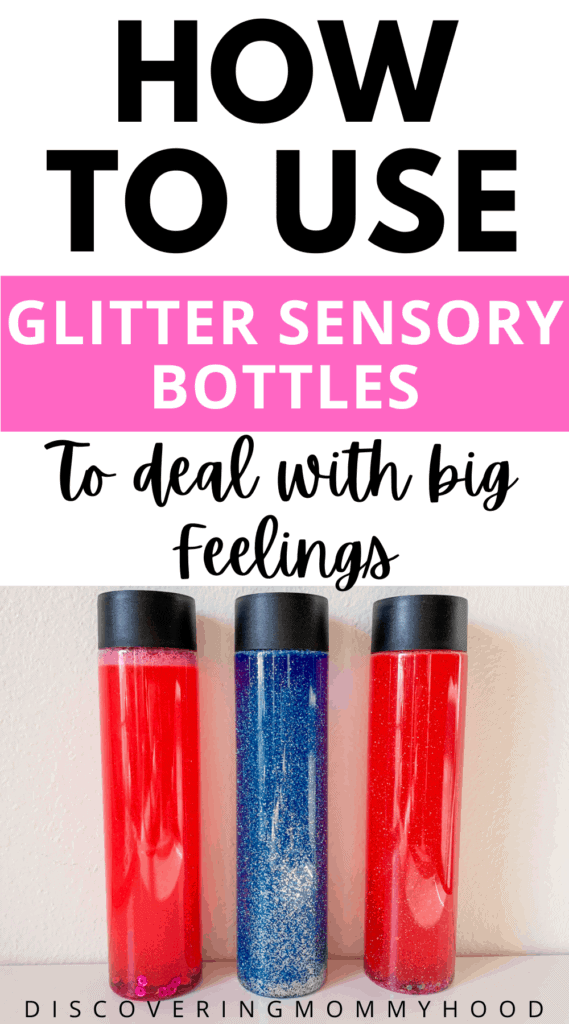
Glitter sensory bottles are so pretty to look at and can be used for a few different purposes as well.
They are so pretty and mesmerizing to look at! And you can make themed glitter sensory bottles for various different holidays and seasons. I’ve been meaning to make some for ages, and we finally made some for our Valentine’s Day Unit!
Continue reading to learn how to make glitter sensory bottles and some different ways to use them!
Materials for Calming Glitter Sensory Bottles:
- bottles with caps (sturdy plastic bottles are recommended)
- Clear glue
- Food coloring
- Glitter
- Sequins (optional)
- Hot water
- Hot glue gun
Step 1
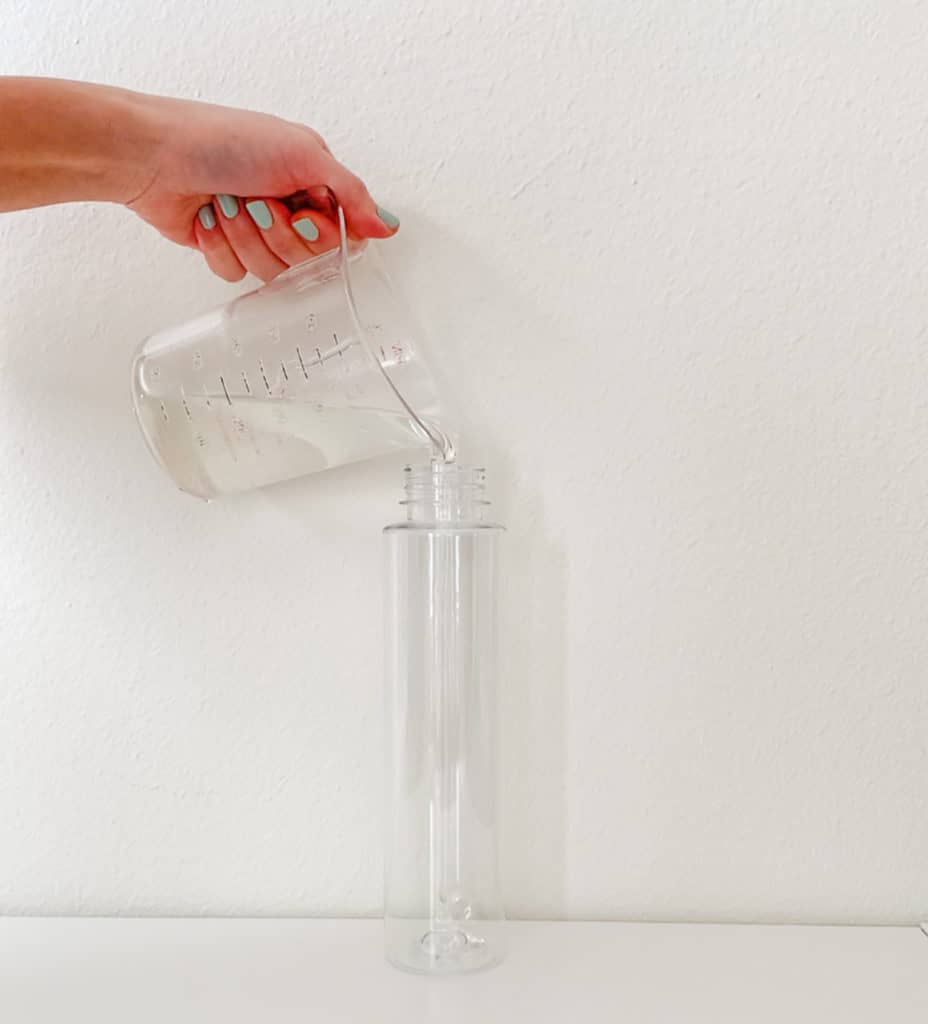
Fill about one-third of the empty plastic bottle with clear glue. I poured the glue into this measuring cup and it made it so much easier to pour it into the bottle. You could also use a funnel if you have one.
Step 2
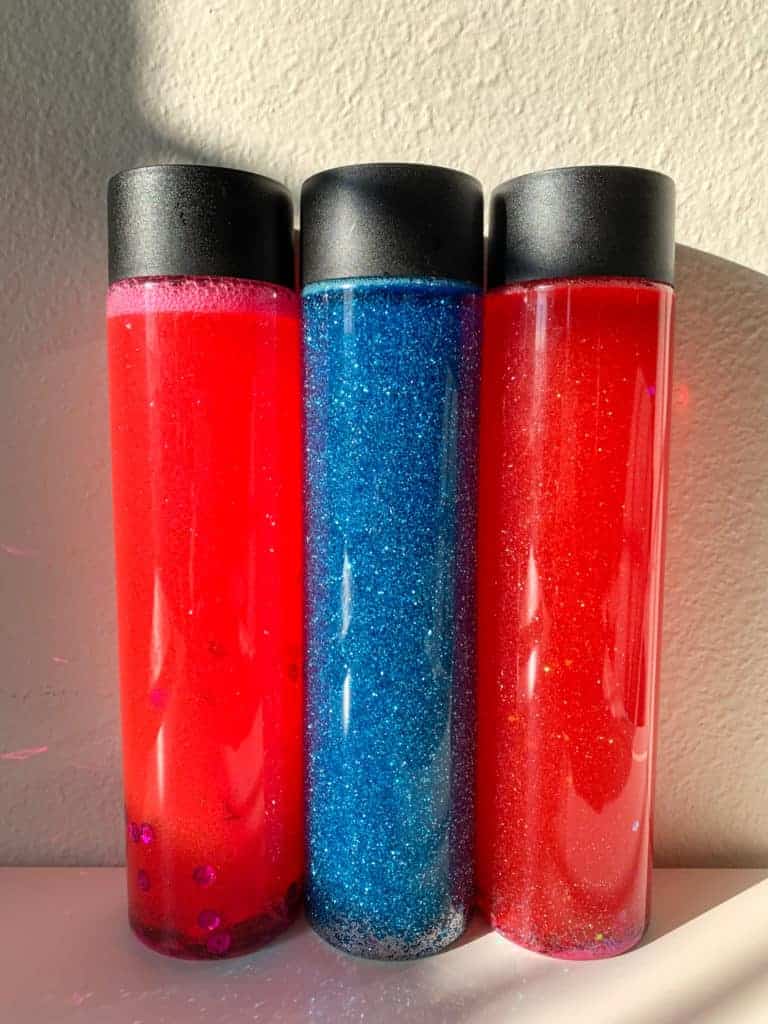
Add food coloring of choice. We will be making pink, red, and blue. Then add in glitter of choice. I would definitely recommend getting fine glitter. I think it reflects the light better, and it makes a prettier glitter sensory bottle.
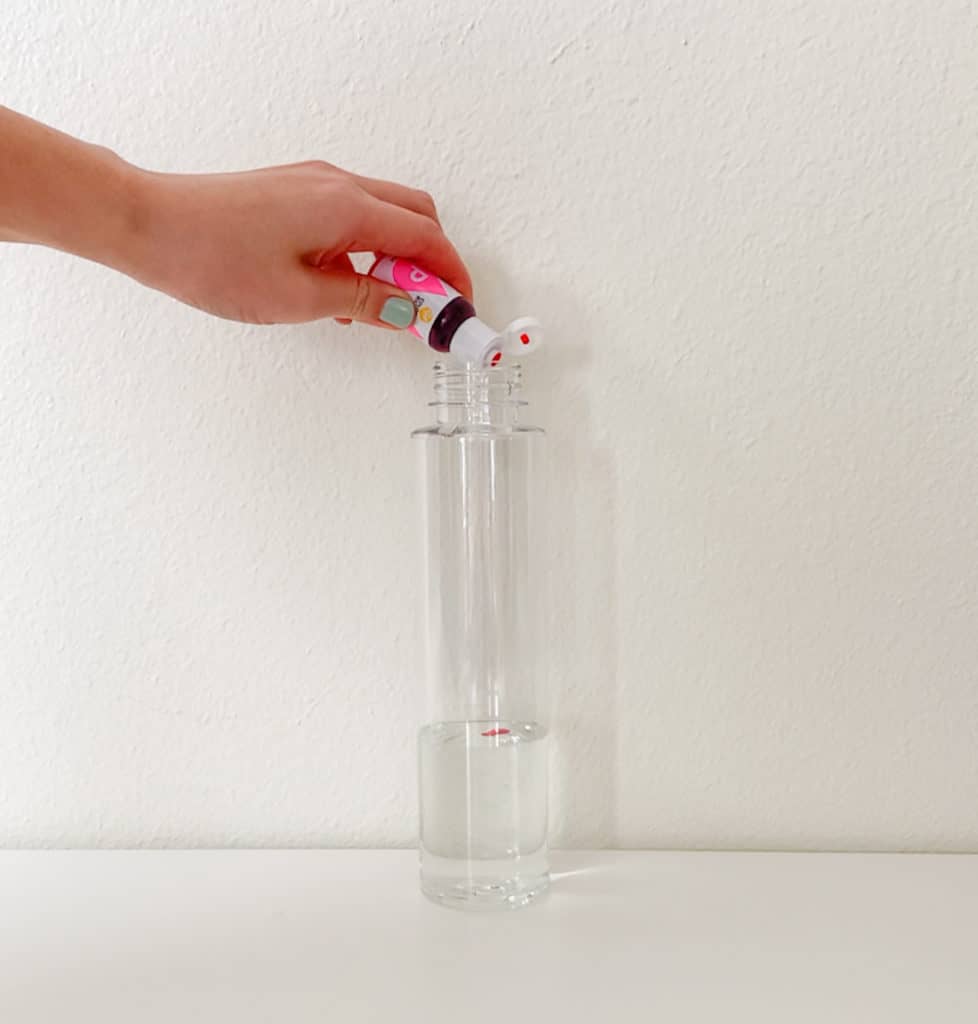
If you would like, add in sequins as well. I added in some little heart sequins into our red bottle and I think it was perfect for this Valentine’s Day themed sensory bottle.
However, I also added in some chunkier sequins into the pink bottle, and since they are so large, they sink to the bottom of the bottle super quickly. I don’t plan on adding these next time.
Step 3
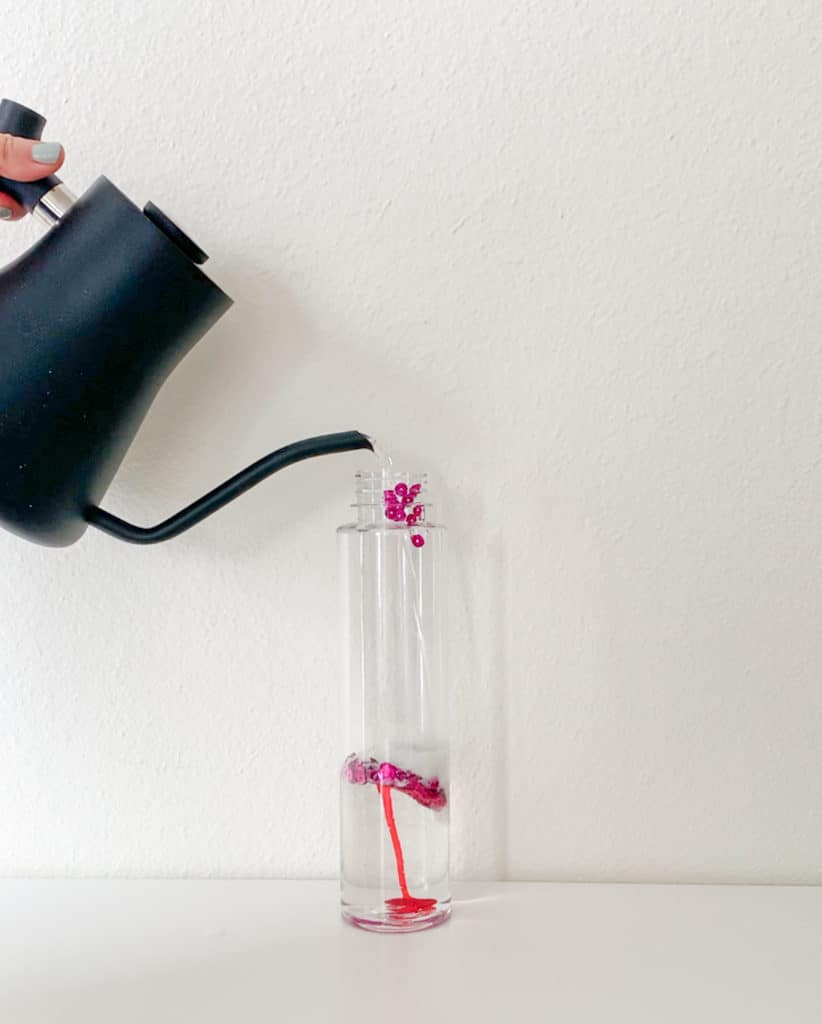
Fill the rest of the bottle with warm to hot water.
Pro Tip #1: Don’t use boiling hot water! I made the mistake of using boiling hot water for one of them and then sealed it too quickly, so that bottle is a bit warped :/ So please, learn from my mistakes!
Make sure to leave a little bit of space at the top so that it gives the liquid a place to move.
Pro Tip #2: Don’t leave too space at the top of the bottle! I left a bit too much space in our pink bottle (it was the first one I made) and I don’t think it looks as nice as the other ones.
Step 4
Put the cap on and shake the bottle to mix, so that the glue and water become a homogeneous mixture.
Step 5
Once you are done mixing, and are happy with what it looks like, I would highly recommend sealing the cap on with hot glue. The last thing I want is these bottles leaking everywhere!

In order to do this, open up the bottle carefully and wipe down the inside of the cap and the top of the bottle.
Once it is completely dry, put some hot glue on the inner seal of the cap and then close the cap tightly onto the bottle while the glue is still hot. This will be helpful in preventing leakage.
Video: How To Make Glitter Sensory Bottles
For those of you who are more visual, here is a quick video on how we made our glitter sensory bottles.
How to Use Glitter Sensory Bottles
Glitter sensory bottles are so pretty, but they can actually be educational tools as well! Here are some ways you can use them.
Learning Colors
There are a couple different ways I would use the glitter sensory bottles to teach colors.
One way is to make 7 different colored glitter bottles, one for each color of the rainbow. This would be great for color recognition.
Another way is make just 3 primary colored bottles, and look through two of them next to sunny window to demonstrate how two colors can create a new color. For this, I would suggest not putting too much glitter or sequins in the bottle so that the colors are a bit more see-through.
Learning About Senses
For our five senses unit, we made sensory bottles when learning about sight. Instead of glitter though, we used water beads and hair gel. If you want to know exactly how we made those, check out this rainbow sensory bottles post here.
Learning How to Deal with Big Emotions
The other purpose that I’ve been trying to use it for is as a tool to help our boys express their emotions and help them calm down. We’ve used it a couple times as a calming glitter sensory bottle and it has been helpful!
I wish I had made these glitter sensory bottles earlier when we had our Feelings and Emotions unit.
I Hope You Try It Out!
I hope these instructions and ideas for how to use these glitter sensory bottles were helpful! If you try it out, let me know in the comments below!
Recommended For You:
Follow Me on Instagram!
I share our daily activities on Instagram @discoveringmommyhood I hope to see you there!

