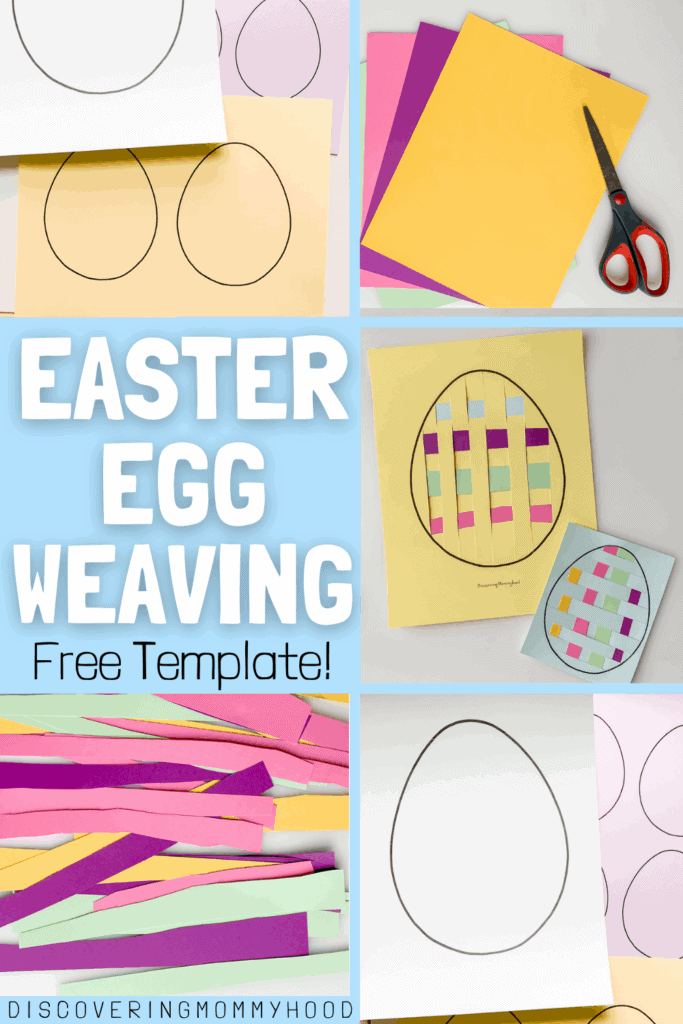
We have just a couple weeks until Easter, so we will be doing loads of Easter-inspired crafts at home!
If you haven’t already checked it out, I highly recommend reading how to make tie-dye Easter eggs. They came out super pretty, and it’s one of the things we will be doing again this week!
Paper Easter Egg Weaving Activity
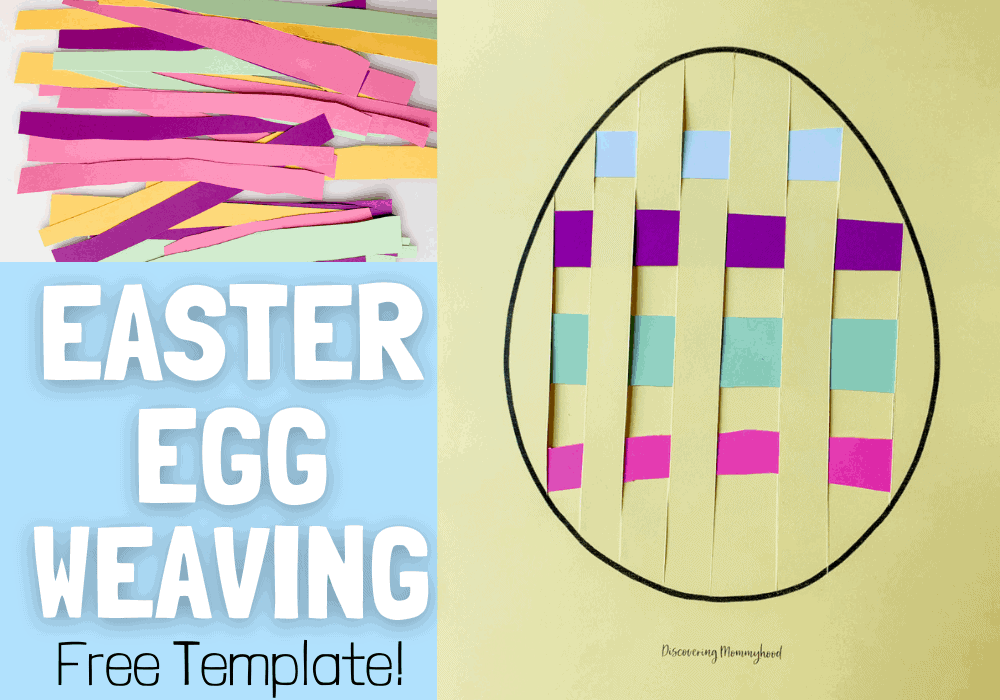
Easter egg weaving is a great activity for preschoolers to work on their fine motor skills. Plus, it’s super cute and it’ll be great to hang them up for Easter!
Materials Needed For Easter Egg Weaving
- Colorful Cardstock (pastel or bright colored shades work best for this Easter-themed activity)
- Printable template
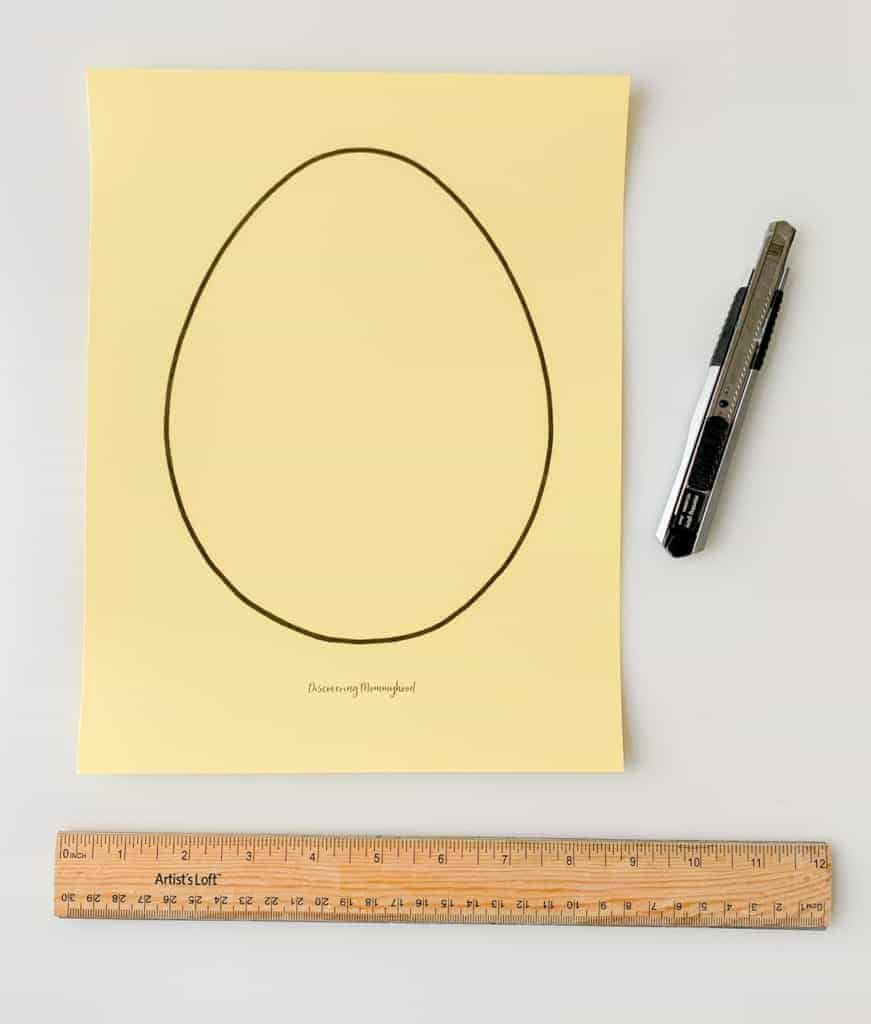
- Exacto knife
- Ruler
- Cutting Mat / Tray / Cardboard
- This set comes with a knife and extra blades, ruler, and a cutting mat! It looks awesome!
- Tape
Download the Easter Egg Template
This is the same printable download as the Paper Easter Egg Template. Make sure to check out the Paper Easter Egg post where I share all the ways we decorated our eggs!
Fill out the form below to download this template!
Step 1
Print out your paper egg template and place it on top of the cutting mat. I think a more lighter pastel shade works well for the egg template.
I don’t have a cutting mat, but used a white table protecting mat which worked pretty. You can also use a tray or some cardboard, but the point is to make sure that your table is protected, because the knife will go through the paper and scratch up the surface of whatever is underneath.
Step 2
Using your ruler, cut straight lines (you can choose to do vertical or horizontal lines) about 1/2 inches apart.
I would definitely recommend an adult doing this portion of the activity. If you have an older child who has experience using an exacto knife, they may be able to help out as well. I prepped this part of the activity by myself.
When you’re done, it should look something like this:
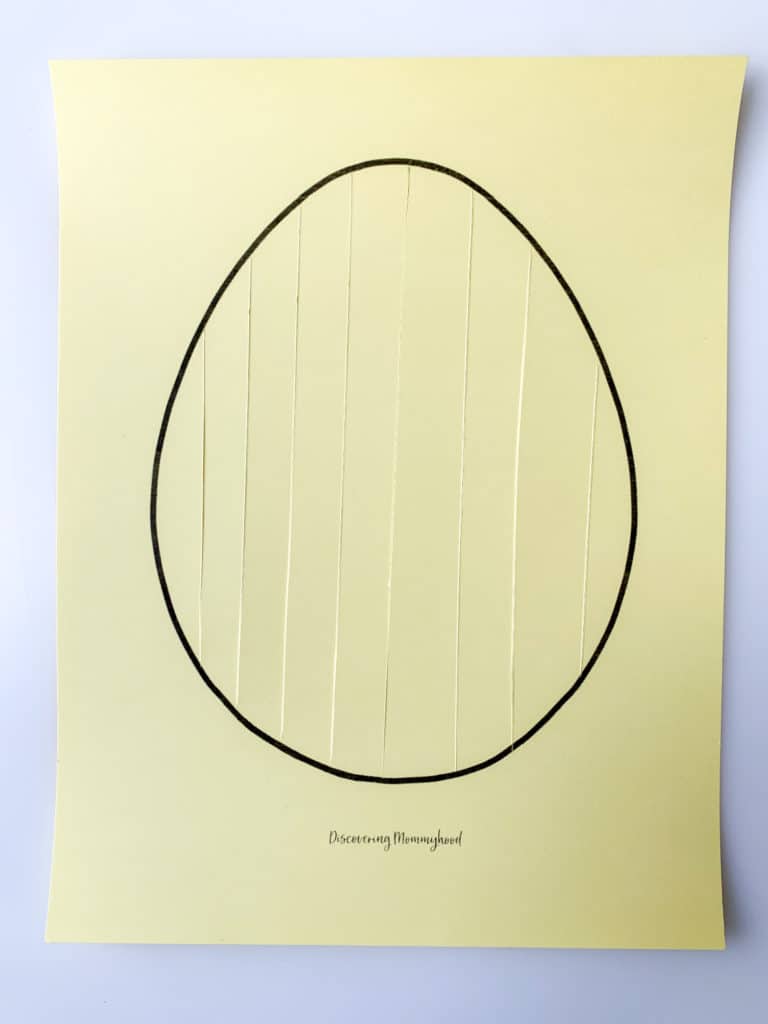
I didn’t have an exacto knife so I used this retractable knife which worked pretty well. The key is to use a sharp knife to make sure the lines are crisp and clean.
Step 3
Choose several sheets of colored cardstock that compliments the color of the egg template. I think choosing more bold colors for this part makes it stand out more.
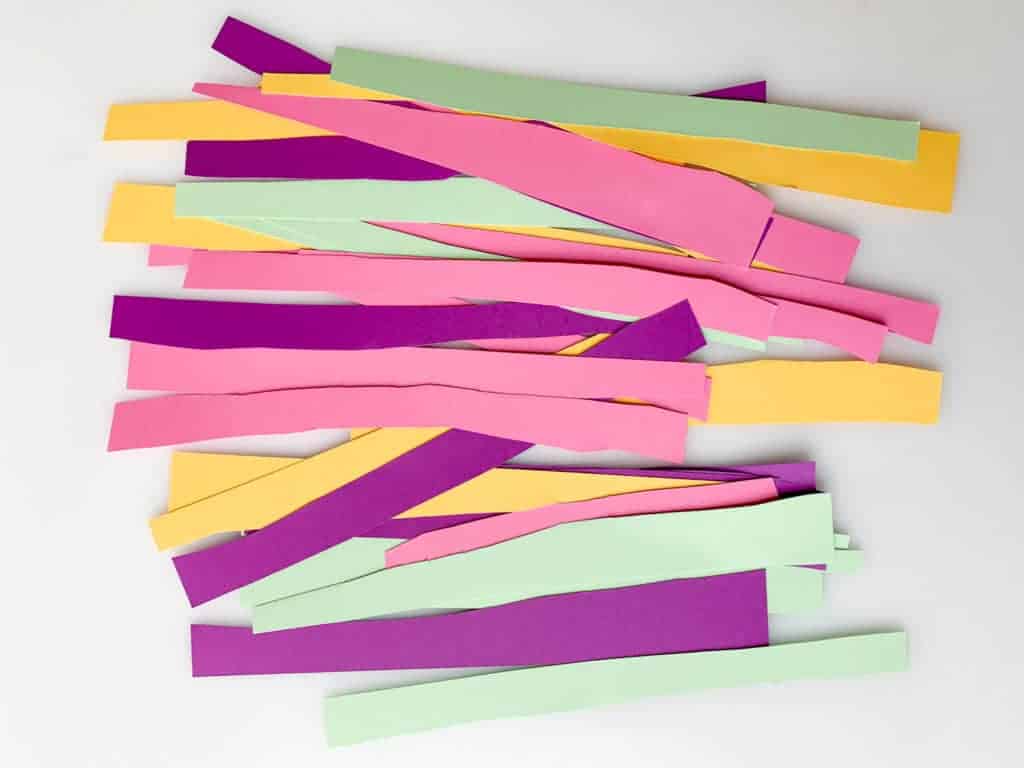
Using scissors, cut these sheets into strips about a quarter to a half an inch wide. The thinner the strips, the more you can weave.
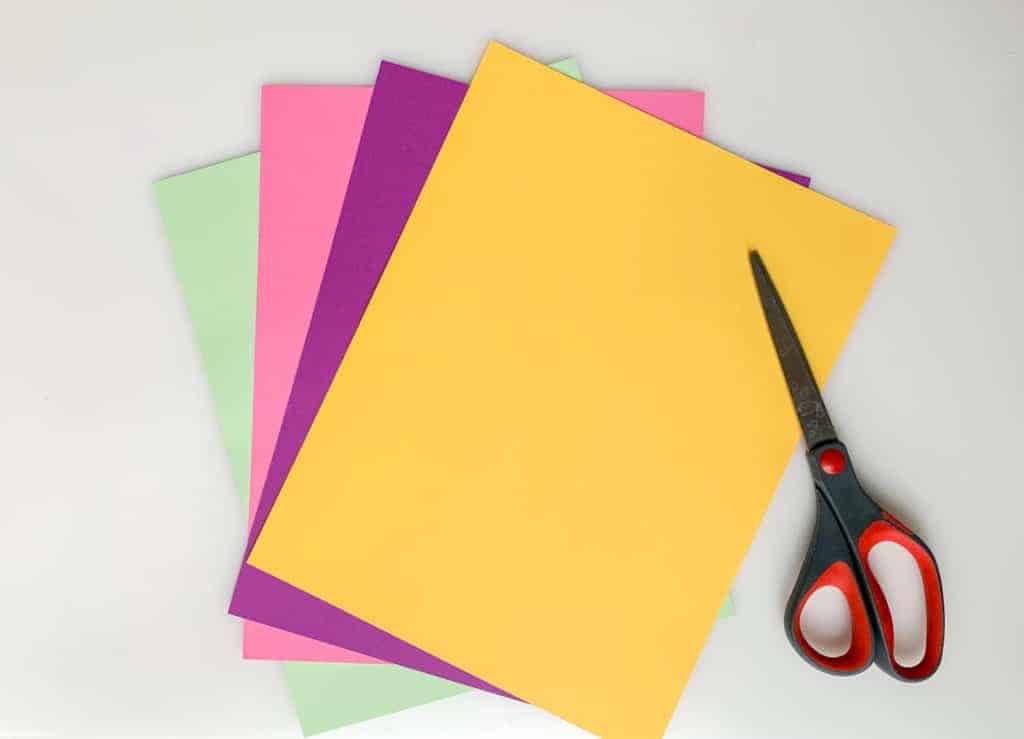
My 4 year-old loves cutting so he really enjoyed helping me with this part 🙂
He cut it a bit thicker, and I tried weaving with them, but it was a bit more difficult. So I do recommend cutting the strips more on the thinner side so around a quarter of an inch wide.
Step 4
It’s weaving time!
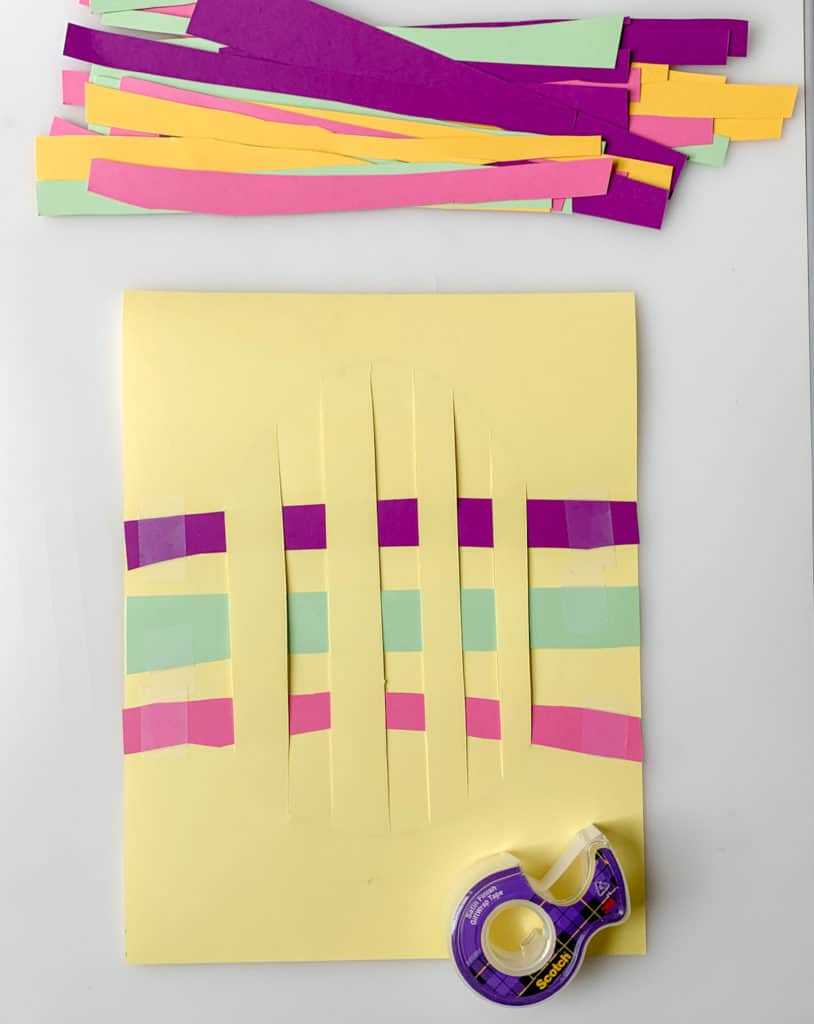
Take one strip at a time and weave it through the Easter egg template alternating up and down between the strips.
Again, you can see in the photo below that the strips of paper are a bit wide, so we were only able to use 3 strips.
Step 5
Once you’re done weaving, flip the Easter egg template to see the back. Use tape to secure the strips in place. If there is any excess paper that protrudes from the sides of the Easter egg, snip off the ends and it’ll make it look really nice and clean.
And You’re Done!
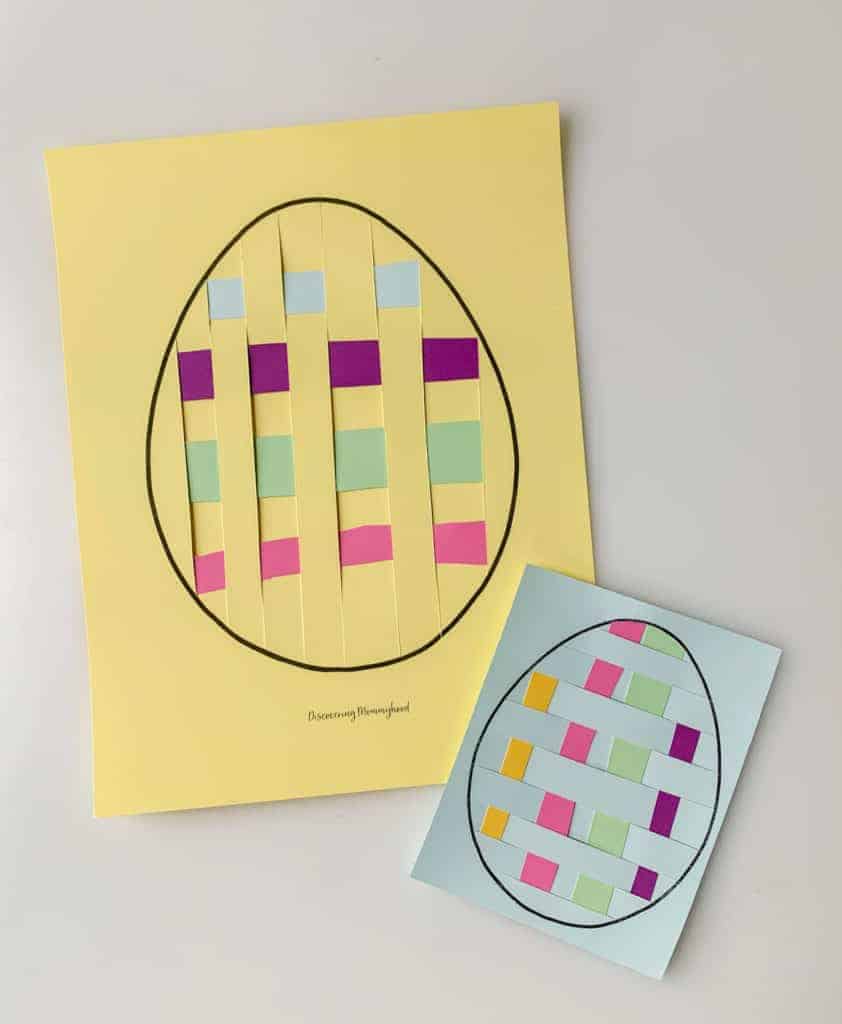
Easter egg weaving is such a simple and easy activity, especially since the template is already provided for you to download! And it’s perfect to do with younger children 🙂
My 4 year old loved this activity. It took a little while for him to get the hang of weaving, but since he already had learned about patterns, he kept repeating “up and down” to himself as he weaved.
Recommended For You
Follow Me on Instagram!
I share our daily activities on Instagram @discoveringmommyhood I hope to see you there!
