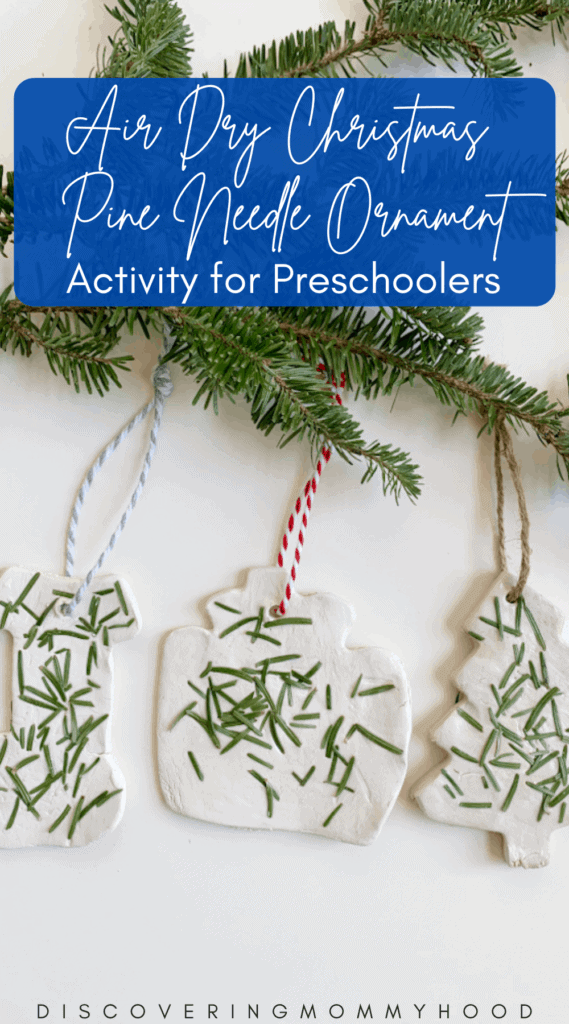
We made these simple yet beautiful clay nature ornaments for our Winter Unit and I just love how they turned out! We currently have ours hanging on our Christmas tree.
I love that they look very minimalist, yet hand-crafted in the best possible way. And they were super easy to make!

Both my boys loved helping me make these. I think this might become an annual Christmas activity.
I also love that you can keep a part of your Christmas tree for years!
I found this activity on Little Pine Learners. She has loads of amazing ideas, so make sure to check out her blog as well!
**This post contains affiliate links, which means I may receive a small commission, at no extra cost to you, if you make a purchase through a link. Please see my full disclosure for further information.
Materials Needed:
- Air dry clay: We used this air dry clay and it worked really well!
- Twine
- Roller
- Cookie Cutters
- Pine Needles
- Mod podge
- Pointy object (like a pencil or chopstick)
Prep
Cut off some pine needles from your Christmas tree to use on your ornament. I think this idea is so wonderful because you can keep a part of your Christmas tree for years to come!
Step 1
Take out the amount of air dry clay you will be using for the ornament. Close the container so the remaining clay won’t dry out.
I added some cling wrap on top of the clay as well. I think this extra step really helps with keeping the clay from drying out.
Step 2
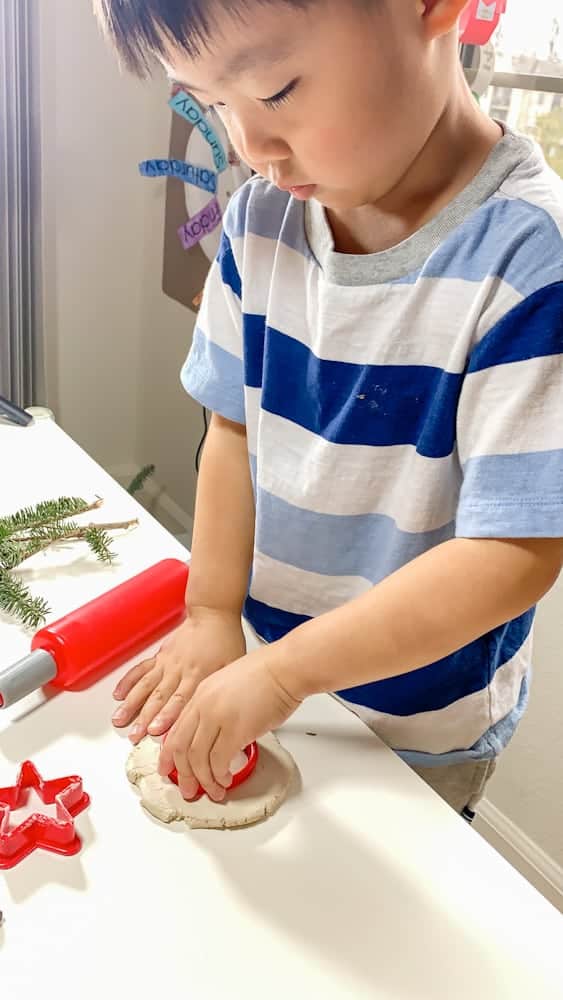
Roll out the clay using a roller. We don’t have a real roller, so we used our boys’ play doh roller and it worked just fine!
Step 3
Using your cookie cutter, cut out a shape just as you would a cookie. And shake it side to side to remove it from the rest of the clay.
Step 4
Using the pine needles you already cut from your Christmas tree, place some pine needles onto the cut out clay, and press down gently to keep the pine needles in place.
Step 5
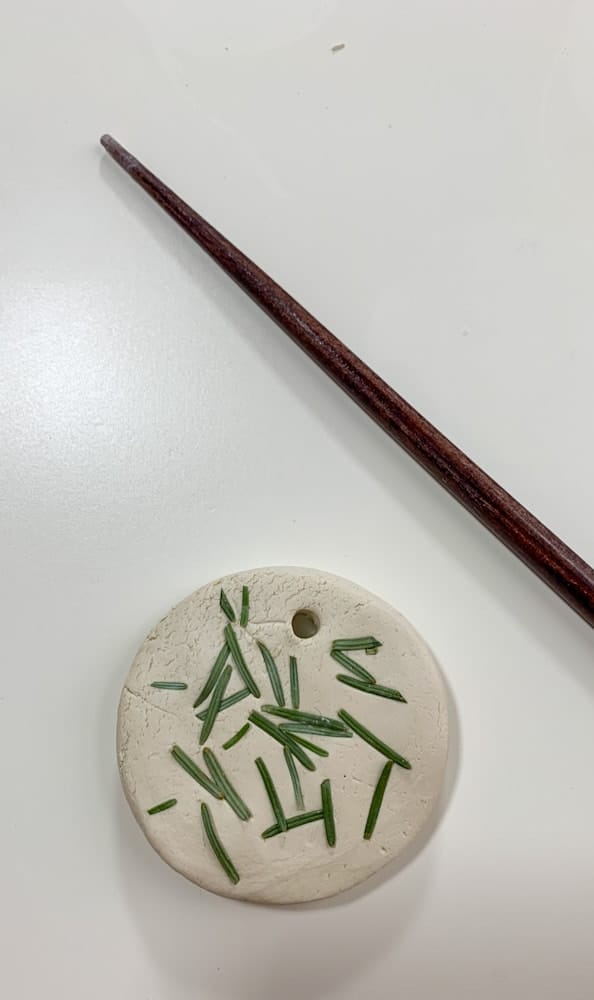
Poke a hole through the ornaments. This is where you will thread the twine through after it dries.
We used a wooden chopstick like pictured below. However you could use toothpick or even a pencil.
Step 6
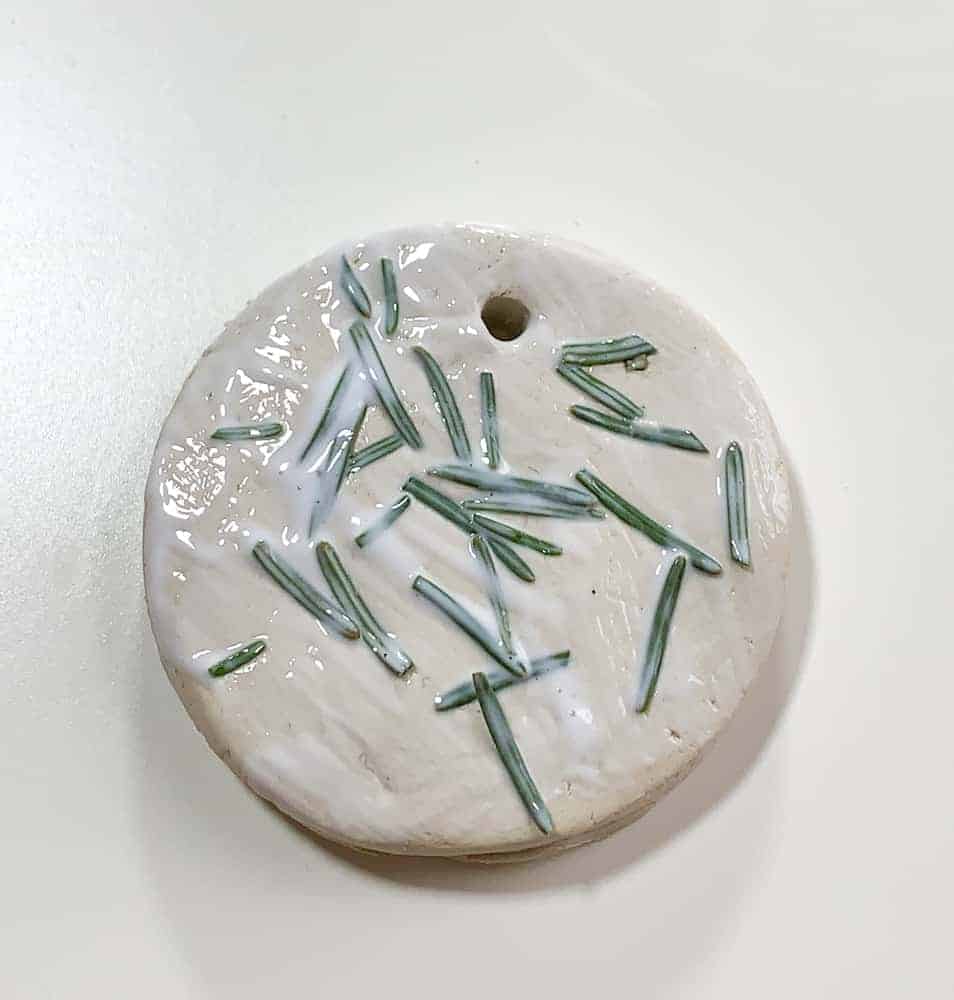
Using a brush, spread a thin layer of mod podge over the top of the ornament. It may move the pine needles around a little, but just press them down a bit more if needed.
It should look glazed as pictured below.
Step 7
Lay them out of a flat surface to dry. Depending on the thickness of the clay, it should take 1-2 days to fully dry.
Step 8
Once it’s fully dry, thread twine through the hole and tie the ends together. And you’re done!
Hang them on your tree as an ornament! I love how the white pops against the green of the Christmas tree.
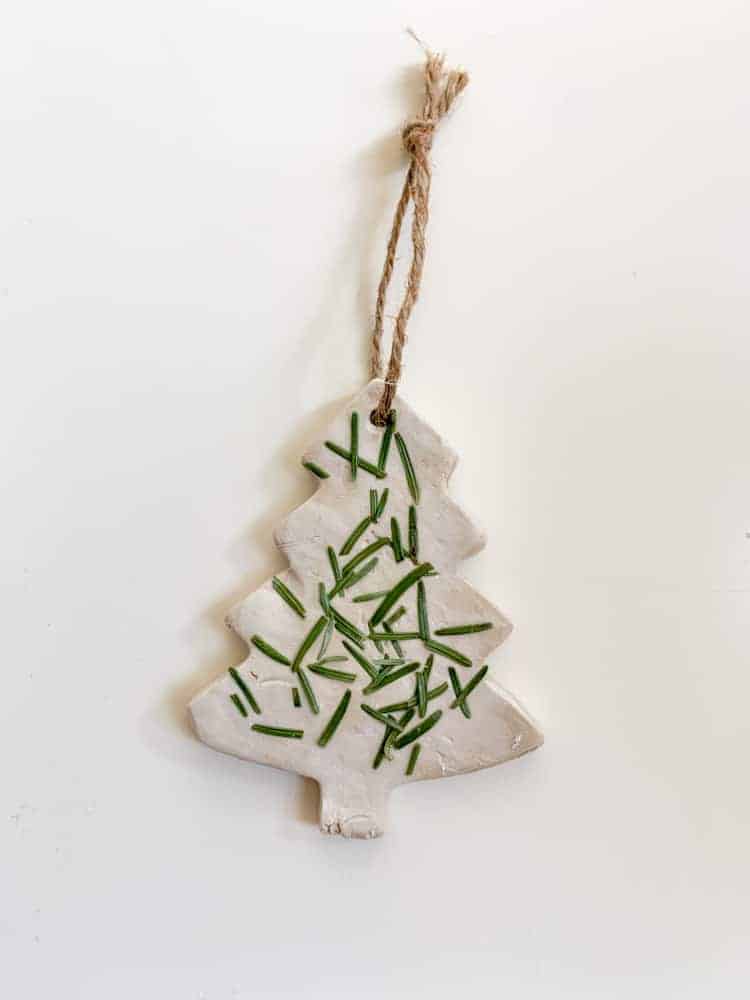
I love How Our Clay Nature Ornaments Turned Out!
If you would prefer a video version of how to make clay nature ornaments, check out this video!
Tag Me On Instagram!
If you try making these clay nature ornaments, I would love it if you would tag me on Instagram at @discoveringmommyhood!
Recommended For You:
