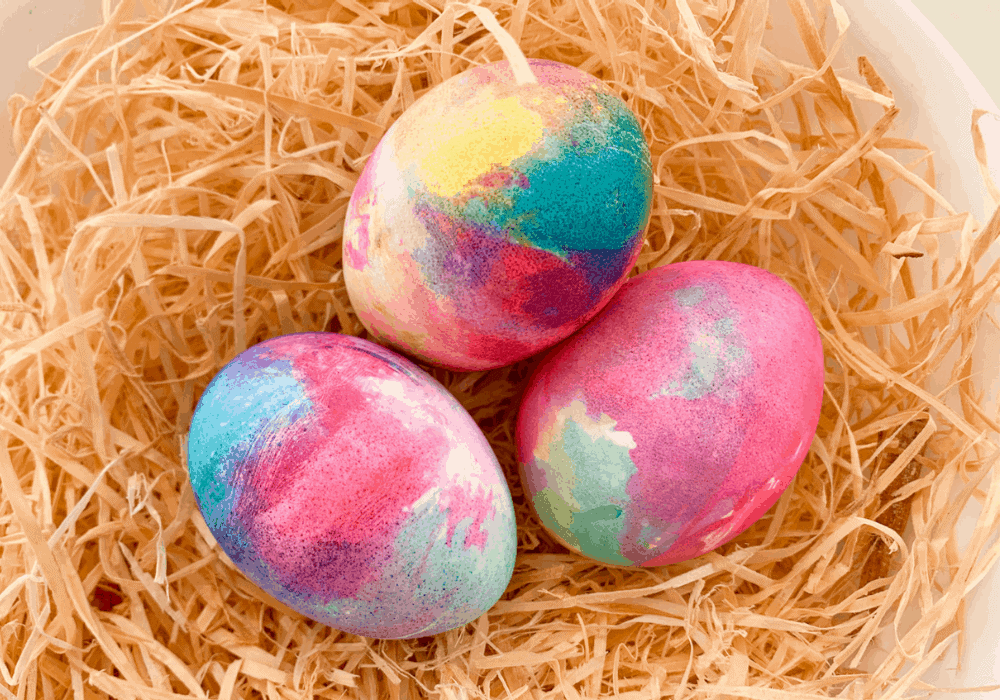
In the past, I’ve tried dyeing Easter eggs with those kits that I got at the grocery store. While those kits are super convenient, the eggs never come out as pigmented as I want them to be.
I saw these tie dyed eggs on Pinterest and thought I would try it out for myself, and I’m so glad I did because they came out so pretty!
Just a warning though: it can get a bit messy, but making tie dyed eggs is not as difficult as you might think!
My boys and I just made them this morning, and I made sure they put on their art smocks to make sure they didn’t ruin their clothes, and it kept things relatively clean!
This activity takes just about 15 minutes (not including time spent boiling the eggs), and the results are stunning!
You probably already have these materials at home, and it really didn’t take very long. Plus, the results are super gratifying!
So, this year, I’m ditching those Easter egg kits, and will be dyeing my own eggs using this method!
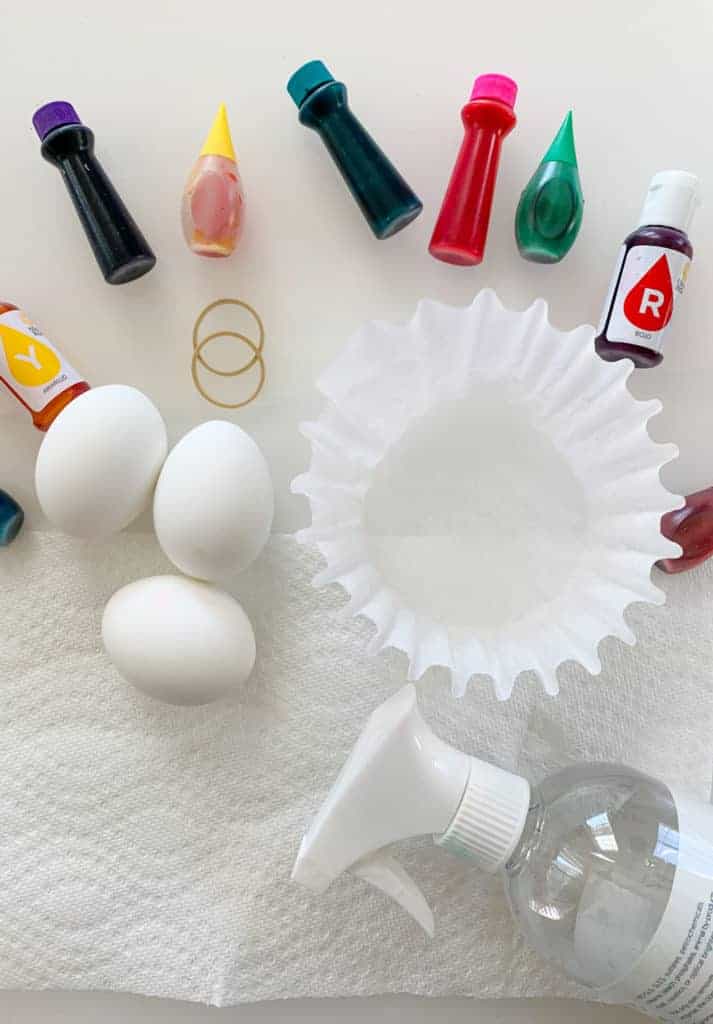
Materials Needed:
- Eggs
- Coffee filters or paper towels or tissues
- Rubber bands
- Food coloring (these are super pigmented!)
- Spray bottle
- Food safe Plastic or latex gloves
- Water
Step 1: Cook the Eggs
Do you put your eggs in at the beginning with cool water, or do you place them in after the water boils?
I’ve found that I waste time waiting for the water the boil and forget to put the eggs in, and I also dislike having to plop them in when the water is boiling.
All that to say, I usually put the eggs in at the beginning when the water is still cold. And then set the timer for 13 minutes.
On our electric stove top, 13 minutes on high heat is the perfect time to cook our eggs.
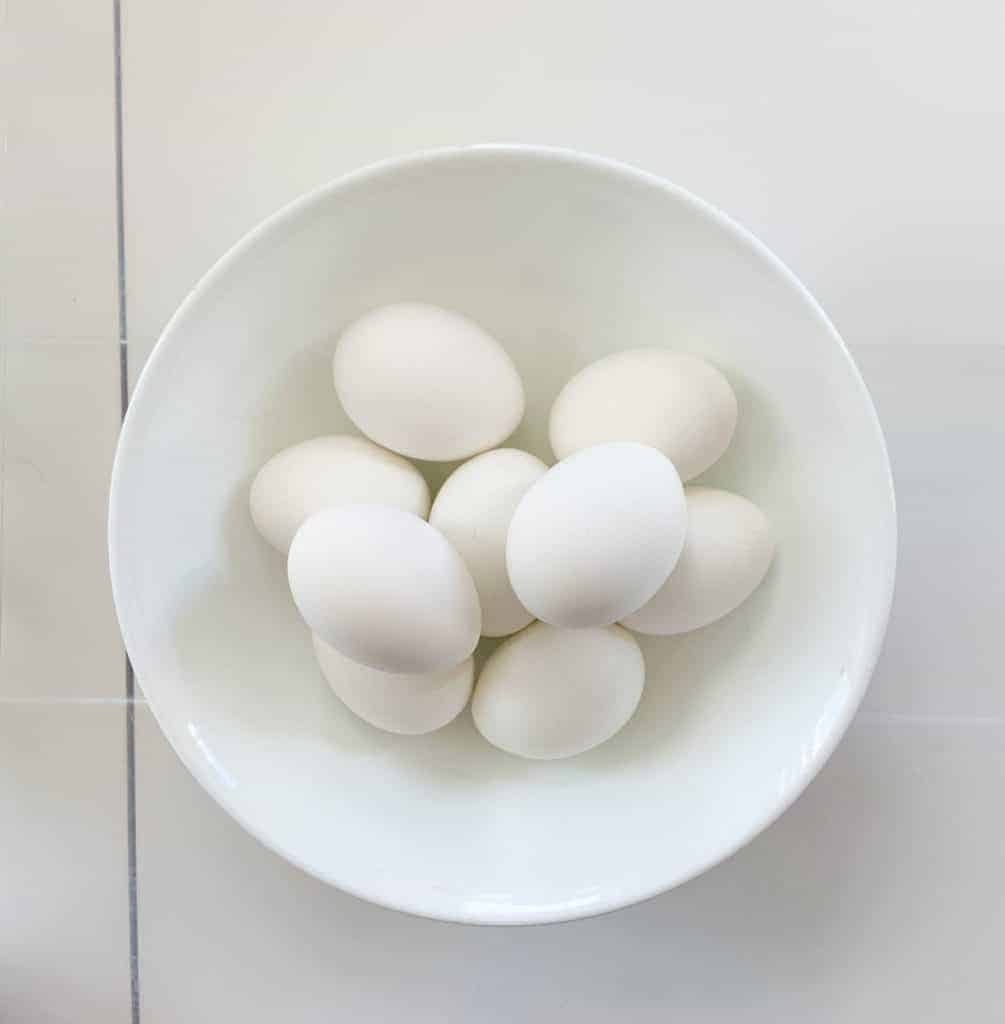
Whatever method you use, the first step to making these beautiful tie dye Easter eggs is to boil the eggs and let them cool completely.
Step 2: Wrap the Eggs
For this portion, I tried out 3 different methods. I used paper towels, coffee filters, and good ole’ Kleenex (tissue).
This really comes down to personal preference, and of course what you may already have at home.
I personally think the coffee filter eggs came out the best. The colors were more evenly distributed and I really liked how the tie dye looked on those eggs.
The eggs we used paper towels on had a bit of the paper towel “design” on them. I could kind of see the little imprint marks from the paper towels on the eggs. This does add a bit of a textured look that looks pretty cool too.
The ones with tissue came out a bit more streaky. So if you like that look, use tissue.
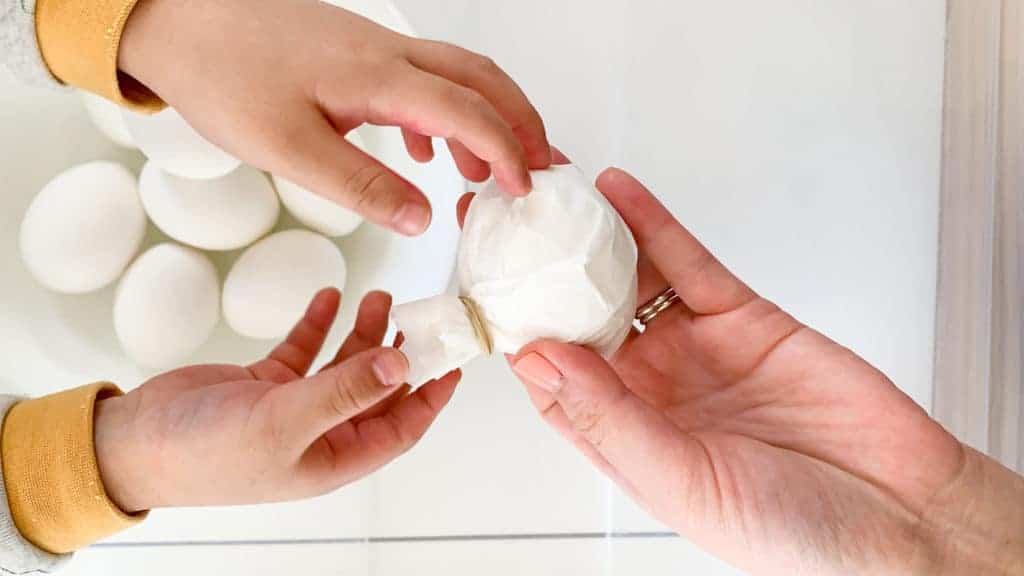
Take your egg and wrap it in paper towel, coffee filter, or tissue. My 4 year old loved helping me with this part.
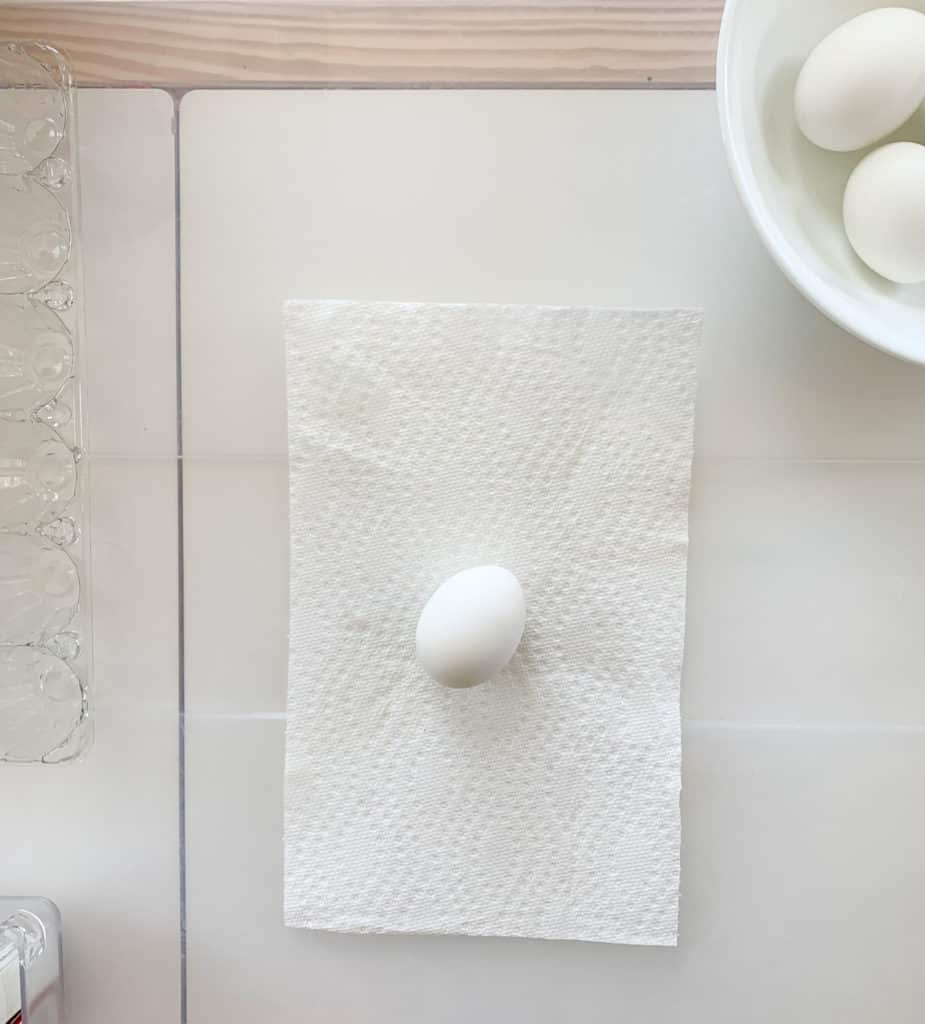
Secure the opening with a rubber band, so that the egg is completely inside the coffee filter/paper towel/tissue.
Step 3: Color Time!
Here comes the messy part! I love that food coloring is taste-safe, but it can stain your hands.
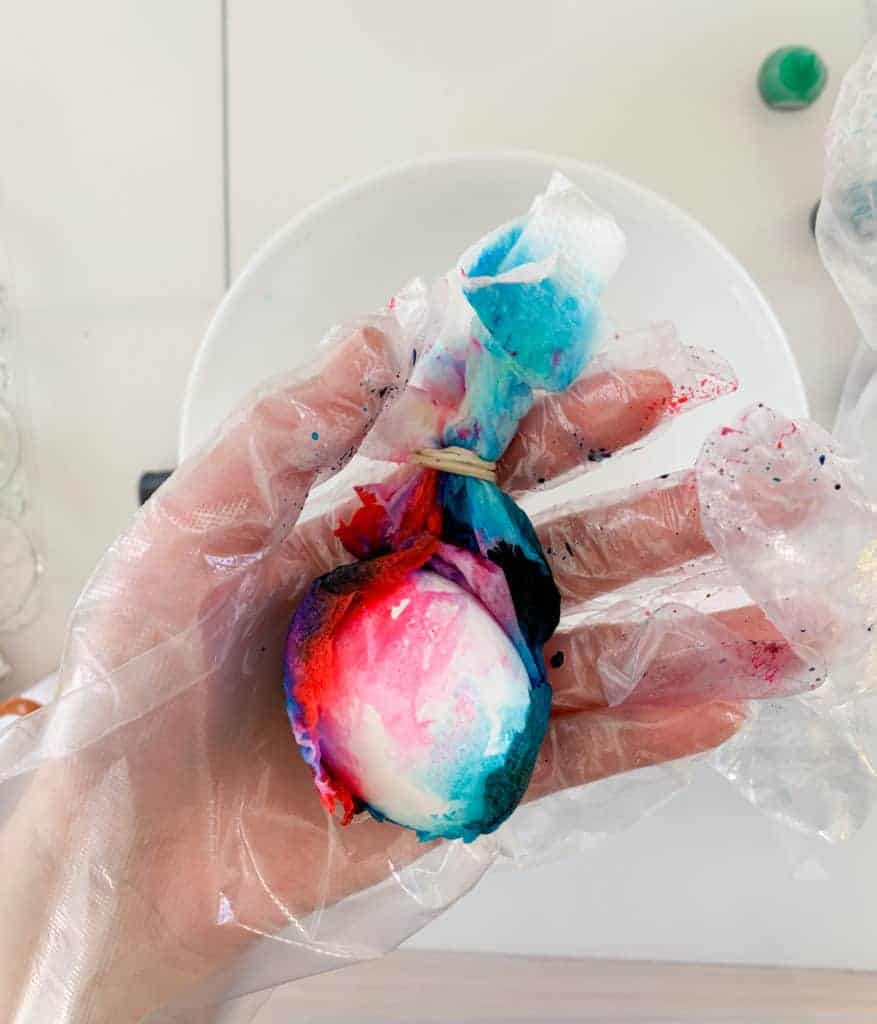
So, I usually use plastic gloves when we do activities involving food coloring. I love these Korean disposable gloves, and use them when I cook too. (I strongly dislike touching raw meat, so I use these when I prep food!)
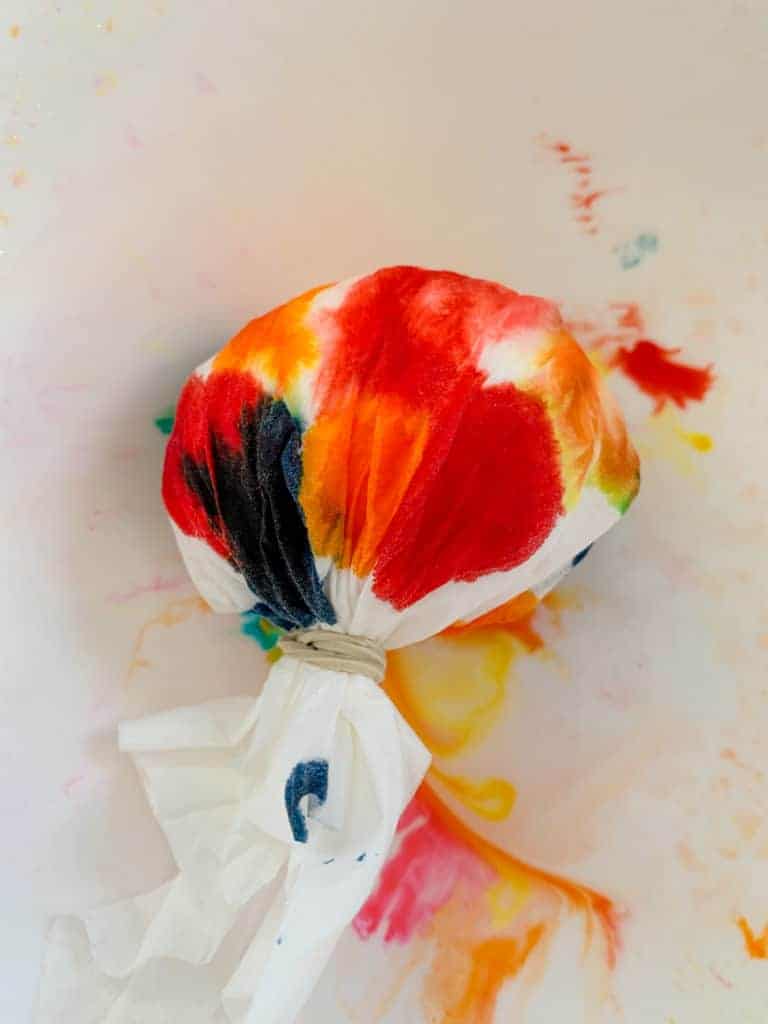
Choose 2-3 colors you want on your egg, and drop several drops of food coloring. I love using gel food coloring because it is super pigmented. However, it takes a while for the coffee filter/paper towel/tissue to absorb it. So you may need to rub it into the covering a bit.
Regular food coloring absorbs more quicker; however, it is a bit less pigmented. So if you like your eggs a bit more pastel and light-colored, regular food coloring may work better for you.
Here’s how our tie-dyed eggs looked after we put food coloring on it.
Step 4: Spray
Here comes the even messier part!
Fill your spray bottle with water, and gently spray the wrapped eggs. Spray the whole egg, so that the colors can mix together and create a tie-dye effect!
I would recommend placing the wrapped egg inside a bowl and then spraying it. When you spray, the food coloring can splatter a bit and get a bit messy.
If you don’t have a spray bottle, I think a dropper like this one would also work well.
Step 5: The Big Reveal!
I placed the sprayed eggs on an empty egg carton and let them sit for a few minutes. Just enough for me to finish spraying the rest of the eggs.
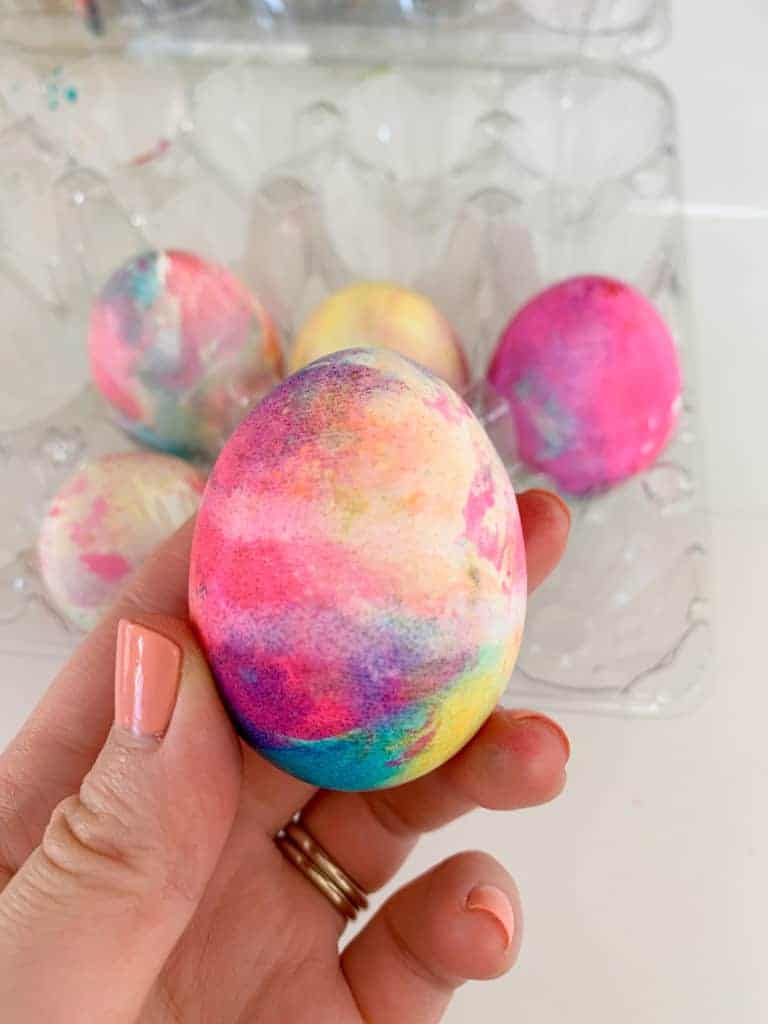
Gently peel the paper towel/coffee filter/tissue off the eggs and voila! You have beautiful tie-dyed Easter eggs!
Step 6: Wipe off the Excess Residue
To finish up, I took a dry paper towel and wiped off the excess water and food coloring, so that it doesn’t dye our hands. It seemed like that was enough to keep it from rubbing off on our hands.
But if you are unsure, I think you could also briefly rinse the eggs off in water to make sure all the residue is gone.
Tips for Tie-Dye Easter Eggs
In the picture below, you can see that part of the egg is still white. In order to prevent this, after you spray the eggs with water, move the egg around within the covering. This way, every part of the egg will be in contact with food coloring and there won’t be any white spots left.
However, I think having some eggs that have white parts peeking through also is a nice look as well. Again, it’s all personal preference!

Beautiful Tie Dye Easter Eggs
Are you tired of using Easter egg kits from the grocery store that just barely give the eggs any color? Follow these steps to make beautiful bright-colored tie dye Easter eggs!
Materials
- eggs
- food coloring
- paper towels
- coffee filters
- tissue
- rubber bands
- plastic or latex gloves
- spray bottle with water
- bowls
Instructions
1. Cook the Eggs
The first step to making these beautiful tie dye Easter eggs is to boil the eggs and let them cool completely. I usually put the eggs in at the beginning when the water is still cold. And then set the timer for 13 minutes.
2. Wrap the Eggs
For this portion, I tried out 3 different methods. I used paper towels, coffee filters, and good ole' Kleenex (tissue).
Take your egg and wrap it in paper towel, coffee filter, or tissue. Secure the opening with a rubber band, so that the egg is completely inside the coffee filter/paper towel/tissue.
3. Color Time!
Here comes the messy part! I love that food coloring is taste-safe, but it can stain your hands. So, I usually use plastic gloves when we do activities involving food coloring.
I love these Korean disposable gloves, and use them when I cook too. (I strongly dislike touching raw meat, so I use these when I prep food!) Choose 2-3 colors you want on your egg, and drop several drops of food coloring.
I love using gel food coloring because it is super pigmented. However, it takes a while for the coffee filter/paper towel/tissue to absorb it. So you may need to rub it into the covering a bit.
Regular food coloring absorbs more quicker; however, it is a bit less pigmented. So if you like your eggs a bit more pastel and light-colored, regular food coloring may work better for you.
4. Spray
Here comes the even messier part! Fill your spray bottle with water, and gently spray the wrapped eggs. Spray the whole egg, so that the colors can mix together and create a tie-dye effect!I would recommend placing the wrapped egg inside a bowl and then spraying it.
When you spray, the food coloring can splatter a bit and get a bit messy. If you don't have a spray bottle, I think a dropper like this one would also work well.
5. The Big Reveal!
I placed the sprayed eggs on an empty egg carton and let them sit for a few minutes. Just enough for me to finish spraying the rest of the eggs. Gently peel the paper towel/coffee filter/tissue off the eggs and voila! You have beautiful tie-dyed Easter eggs!
6. Wipe off the Excess Residue
To finish up, I took a dry paper towel and wiped off the excess water and food coloring, so that it doesn't dye our hands. It seemed like that was enough to keep it from rubbing off on our hands. But if you are unsure, I think you could also briefly rinse the eggs off in water to make sure all the residue is gone.
Notes
Additional Tips for Tie-Dye Easter Eggs
In order to prevent parts of the eggs being white, after you spray the eggs with water, move the egg around within the covering. This way, every part of the egg will be in contact with food coloring and there won't be any white spots left.
However, I think having some eggs that have white parts peeking through also is a nice look as well. Again, it's all personal preference!
Will You Try Making Tie Dye Easter Eggs?
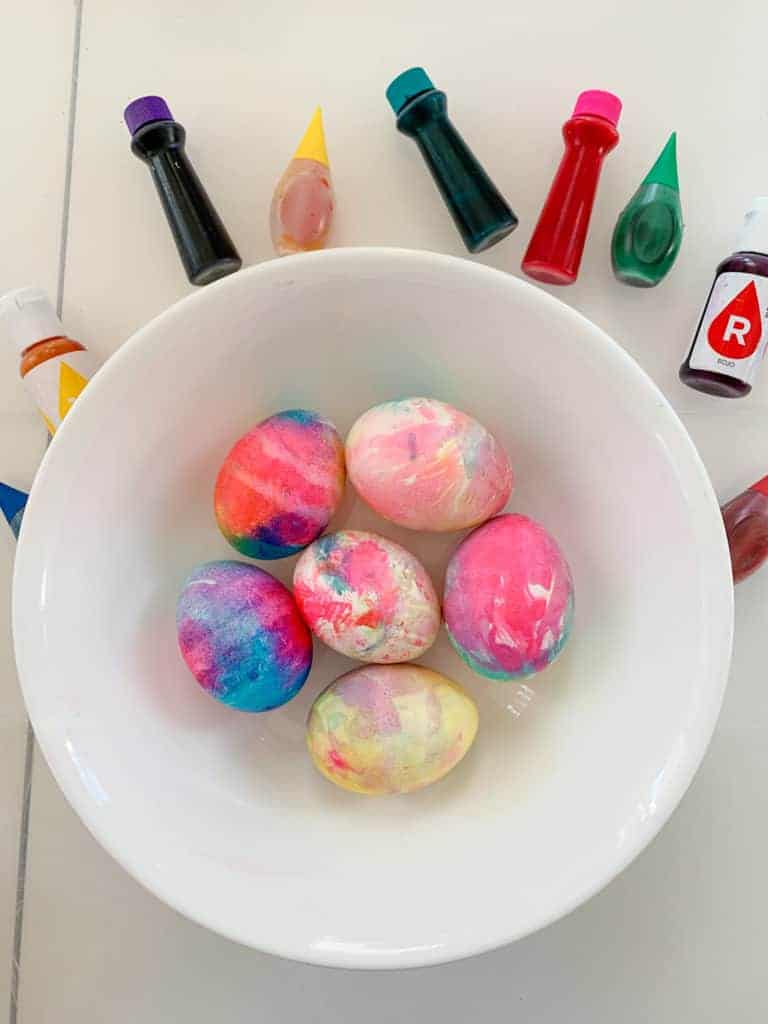
Here’s how all our tie-dyed Easter eggs came out! If I look closely, I can tell which ones were wrapped in coffee filters, paper towel, and tissue.
But I think they all turned out super pretty! And I will definitely be using this method again to make more tie-dyed Easter eggs!
If you liked this activity, make sure to check out some of our other sensory bin activities!
Recommended For You:
Follow Me on Instagram!
I share our daily activities on Instagram @discoveringmommyhood I hope to see you there!


