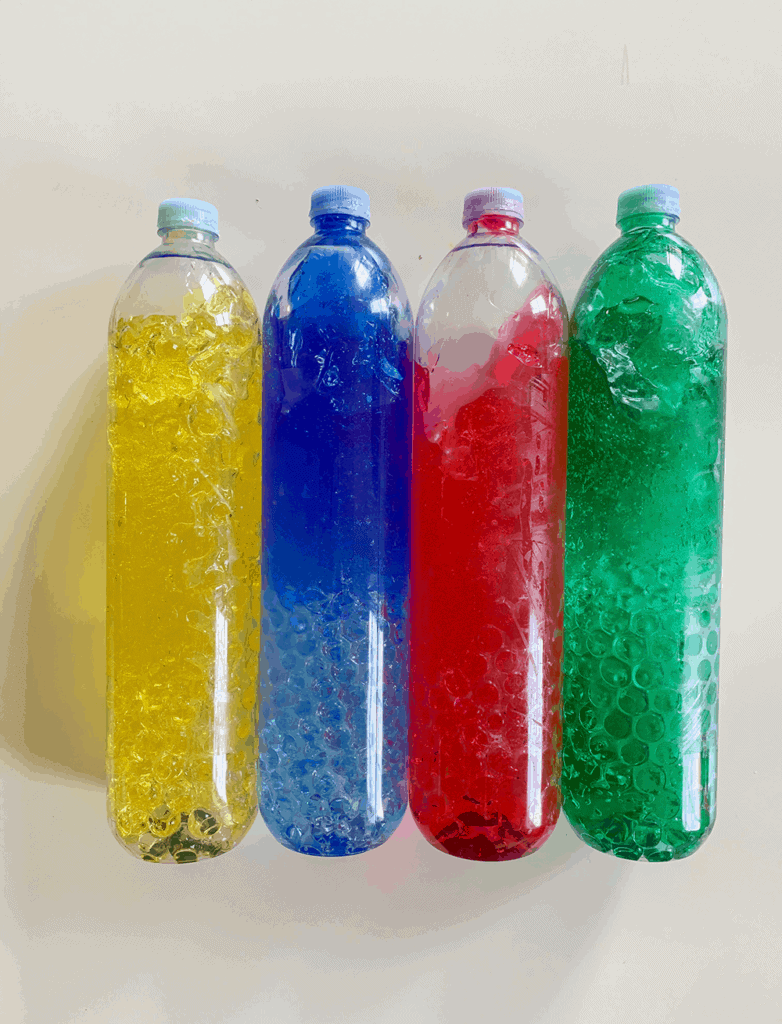
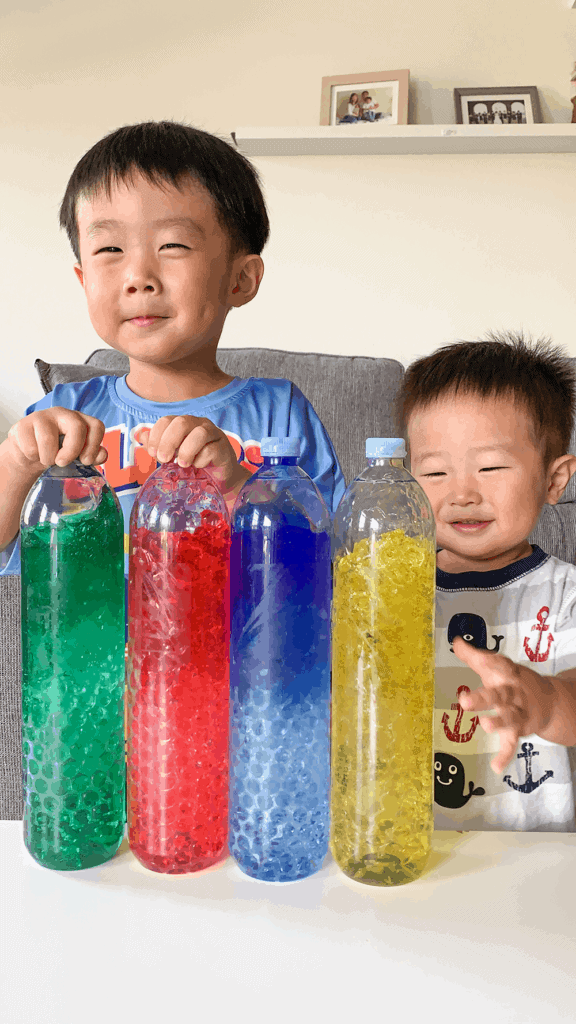
I made these rainbow sensory bottles in our unit for My Five Senses. You can check out the weekly lesson plan here.
Both my boys loved these sensory bottles, but my 19 month old particularly couldn’t get enough! He kept carrying them to different places around our apartment 🙂
It’s something about the bright colors and the texture that is definitely mesmerizing!

I saw this really cool activity on Play to Learn Preschool and I was really excited to try it out! Check out the original post here.
I bought these clear water beads and liquid watercolor for this activity. And I got several bottles of clear hair gel from the dollar store.
You could totally do these sensory bottles in mason jars (with lids) if you have any. I don’t, so I bought some bottled water which I will be drinking and saving the bottles for this activity next week. Yay for hydration!
Keep in mind that the water beads take a few hours to expand. I plan on making these rainbow sensory bottles the night before (by myself), and just get the boys to play with them the next day.
How to Make Rainbow Sensory Bottles
Step 1: Make Clear Water Beads
I placed about 100 water beads into an empty bottle and filled the bottle about halfway. I let it sit for a couple hours until they were able to expand.
This is what my bottle looked like once they expanded.

Step 2: Color the water beads with Liquid Watercolor
I put about 10-15 drops of liquid watercolor into the water beads. Then I shook the bottle and made sure the color was mixed in thoroughly. You can add more for a more opaque color.

Step 3: Color the Hair gel
I used this hair gel from the dollar store.

In a ziplock bag, mix hair gel with about 20 drops of liquid watercolor.
Step 4: Squeeze colored hair gel into the bottle of colored water beads
Cut a corner of the ziplock bag (similar to what you would do when you put icing on a cupcake.
And then carefully fill the bottle up with the colored hair gel.
Step: 5 Use hot glue to seal the cap onto the bottle
The last thing you want is for this gooey mess to leak and get all over the place. So I used a little bit of hot glue and sealed the cap onto the bottle.
DONE!
And then you’re done! Honestly, this process did take a lot longer than I had originally thought it would.
I was also trying to go the cheap route and tried using a baggie instead of ziplocks, at first. Then realized it’s so much easier to just use ziplock bags.
But once I got the hang of it, the rest was easy!


We have made the glitter ones but I like the looks of these. Saving this for a fun winter time project with my toddler. Thanks!
Wow glitter ones sound amazing! I’ve got to try that out sometime!
Can’t wait to try these with my little girl! Thanks.
This is super cool! My toddler would love it. Thanks for the ideas.
LOVE this! We’re always looking for new activities/sensory ideas for our 2.5 year old. Thank you!
Oh wow, these look like so much fun!! I can’t wait to try to make these for my boys!
This is awesome- I’ll be making these these this week for my kids! thanks mama!