Father’s Day is this coming Sunday…tomorrow! If you’re like me, I tend to wait till the last minute to get the gifts from the kids together.
So yesterday and today, I’ve been wracking my brain to come up with easy and fun craft ideas. And of course searched on Pinterest too!
Here are two super easy craft ideas for Father’s Day! They came out super cute, and it was easy enough for both my boys (3 yo and 1 yo) to participate!
**This post may contain affiliate links, which means I may receive a commission, at no extra cost to you, if you make a purchase through a link. Please see my full disclosure for further information.
Craft 1: Finger Painting Pop Art
Materials Needed:
- Cardstock (2 colors)
- Tape
- Scissors
- Washable Paint
- Paint Tray
- Sharpie or any Black marker
Step 1: Cut Out Letters
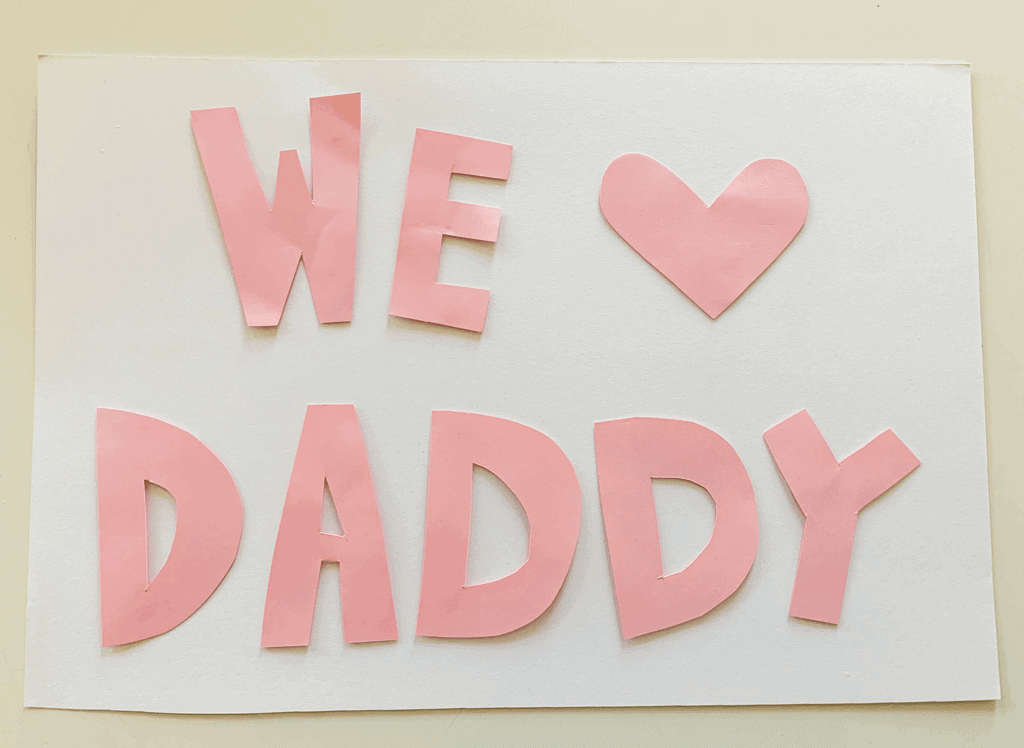
First of all, decide what you’re going to write. I went with “WE LOVE DADDY”.
I’m sure older kids could cut it out themselves, but I just did this part myself.
I used card stock for these letters so that it could hold up even when the kids painted on top. And I also used a different color (pink) from the background (white) so that it’s more to see the letters for removal.
Step 2: Tape Letters
Again, I think with older kids, they could tape it themselves, but I did this part as well.
I used scotch tape, but looking back, I think masking tape might peel better.
It’s important to make little loops with the tape and place them on the back of the letters, rather than just adding tape on top of the letters.
Step 3: Paint
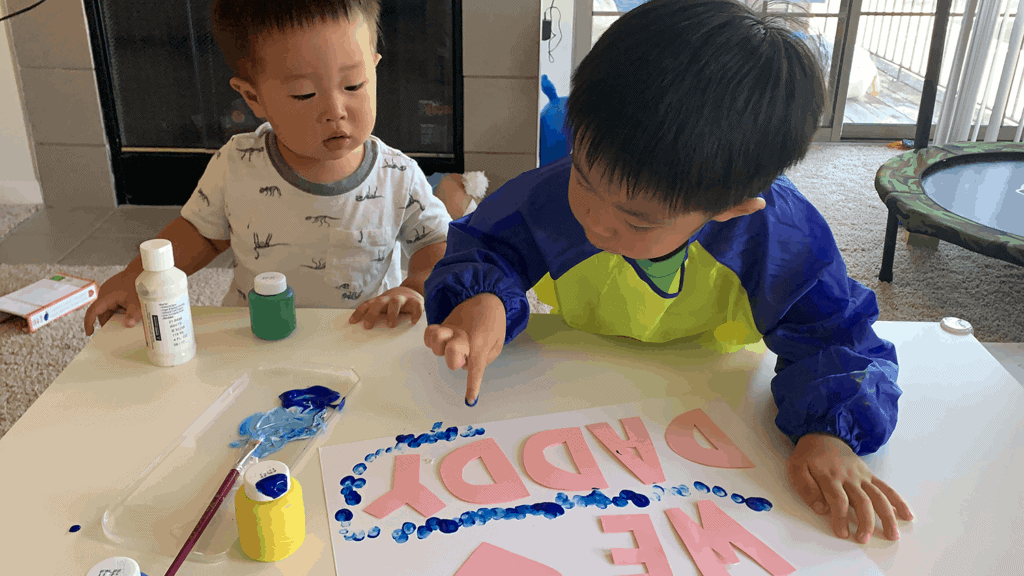
I just chose 3 colors and decided where to put which color. We started with blue for the background color. And then we added yellow around the letters, and then added red around the heart.
You can go with whatever color scheme you and your children like!
I have a little paint tray I use with these washable paints. You can use a paper plate, but I like having something reusable that I can easily wash and use again. Here’s something similar if you’re interested.
Also, I made sure my 3 year-old put on his art smock. I love this thing! But as seen in the picture, my 1 year-old refused to put it on…
Step 4: Remove the Letters
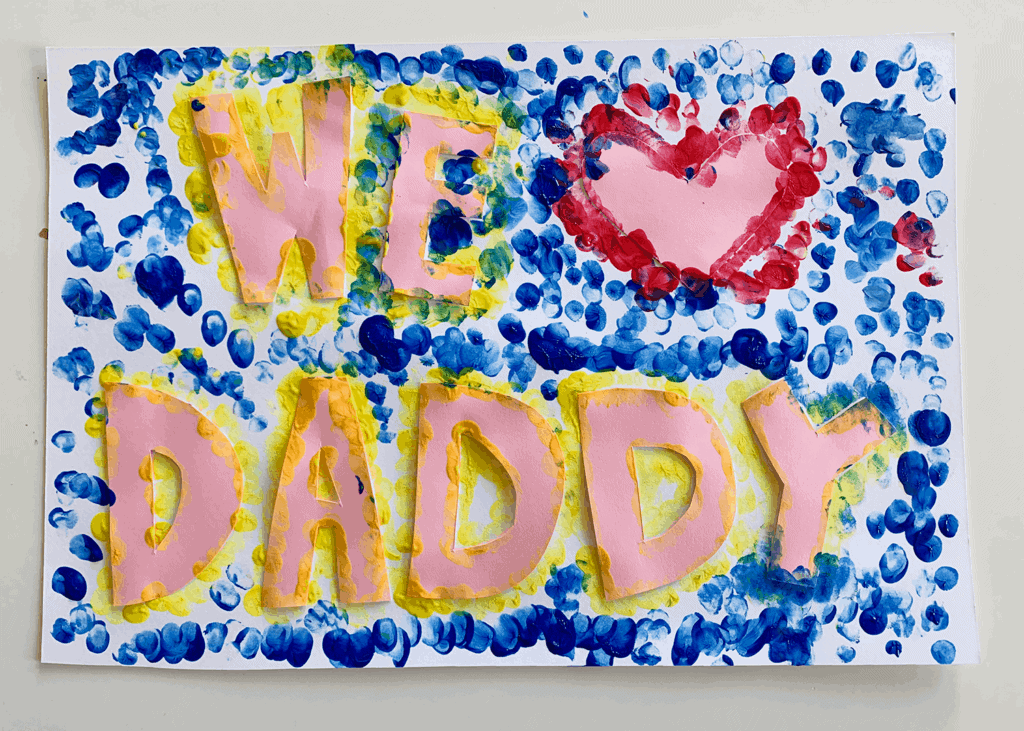
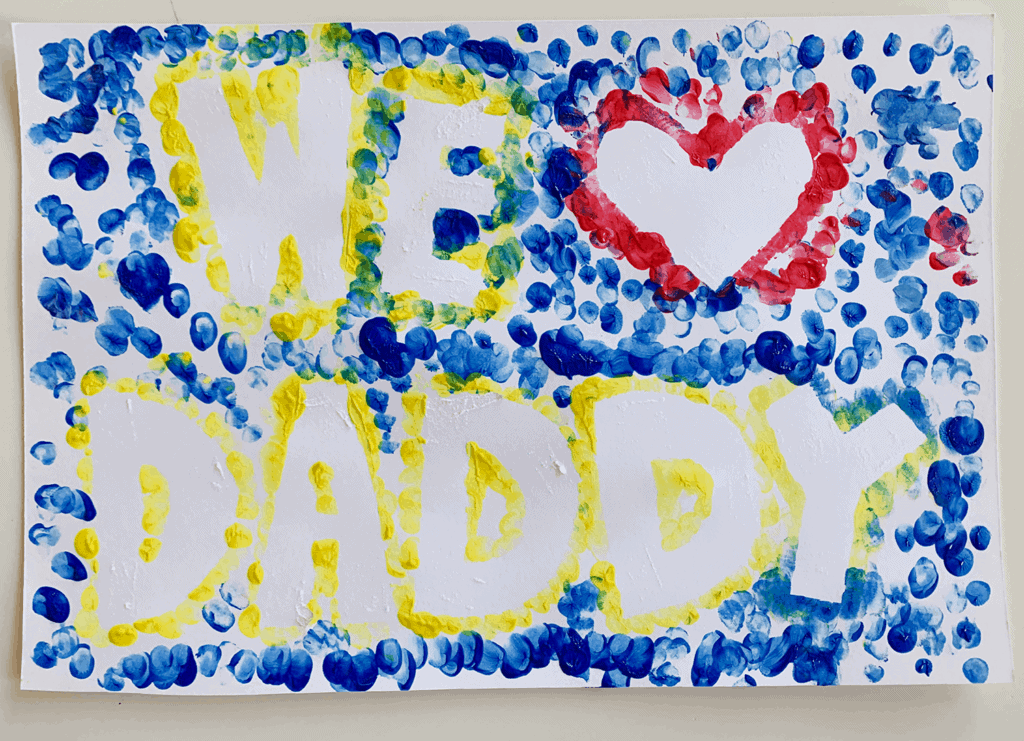
I removed the letters while it was still wet. And it peeled off pretty easily. I used scotch tape and it did take off a bit of paper as well. So next time, I think I would go with masking tape to make the removal part easier.
Step 5: Sharpie
You could leave it at that, but since we chose to use yellow for the color around the text, it wasn’t as clear as I wanted it to be. So I just lined the letters with a black sharpie, and I love how it turned out!

To me, with the crisp black lines and the colors we used, it gives me a bit of a Lichtenstein pop art vibe. Honestly, turned out better than I thought it would be!
Craft 2: Secret Message Watercolor
Materials Needed:
- White Cardstock or larger white painting paper
- White Crayon
- Watercolor and brushes
Step 1: Write the words
Choose the phrase that you want to say and write it using white crayon.
Make sure to press down firmly and write it, to make sure the letters come out clear. I made the lines fairly line, but I would suggest retracing the letters are few times.
It’s difficult to see because it’s white crayon on white paper, but tilt the paper (or your head) to the side to see the crayon more easily. I rushed through this process a bit, and wish I had take a bit more time making sure each of the letters were a bit thicker.
You could get your child to write it, and then you retrace it one more time. I wrote it together with my 3 year-old (him holding the crayon, and me holding his hand).
Step 2: Painting!
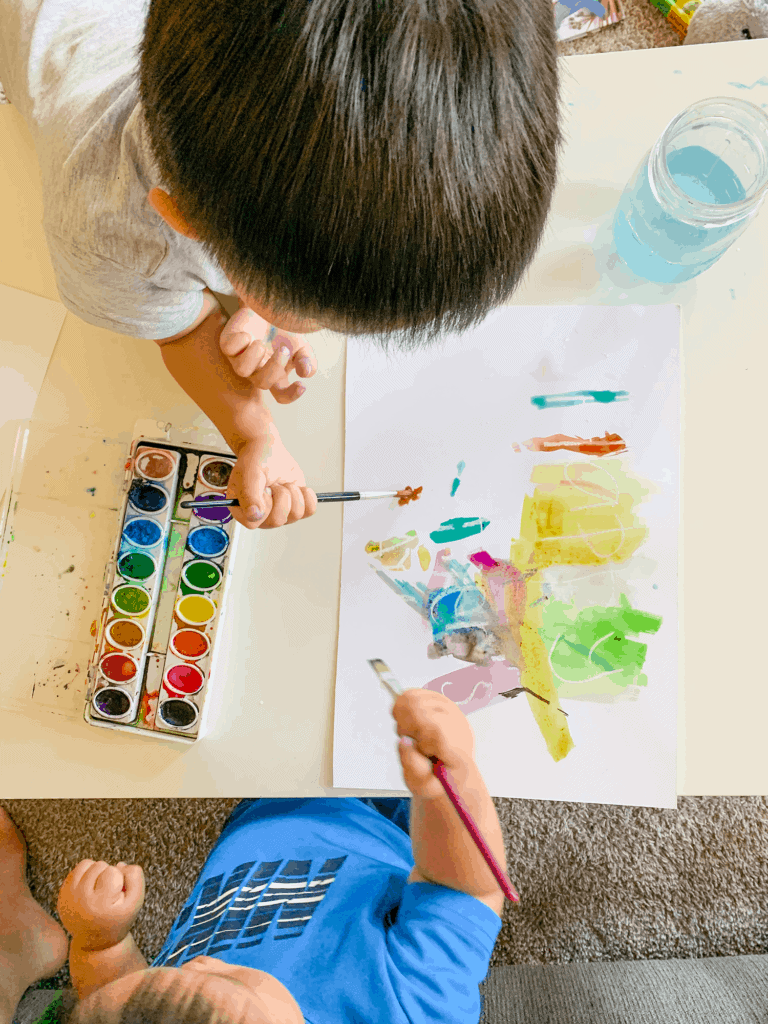
Both my boys really enjoyed this part. They used Crayola watercolor paint, and I filled a mason jar with water.
Surprisingly, it actually didn’t get too messy.
The letters stand out more if the colors around the letters are more saturated. So, if it’s too light/watery, I would go back and add a bit more color to those areas.
And You’re Done!
Super easy, right?
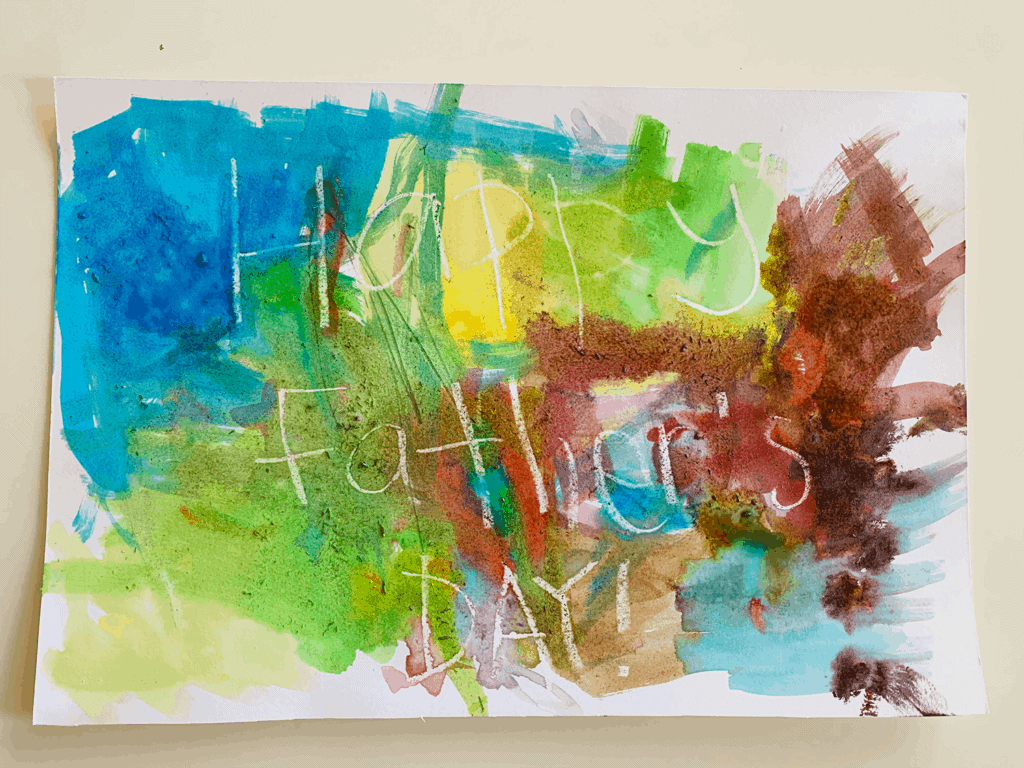
Here’s the final outcome that my boys painted for my father-in-law.
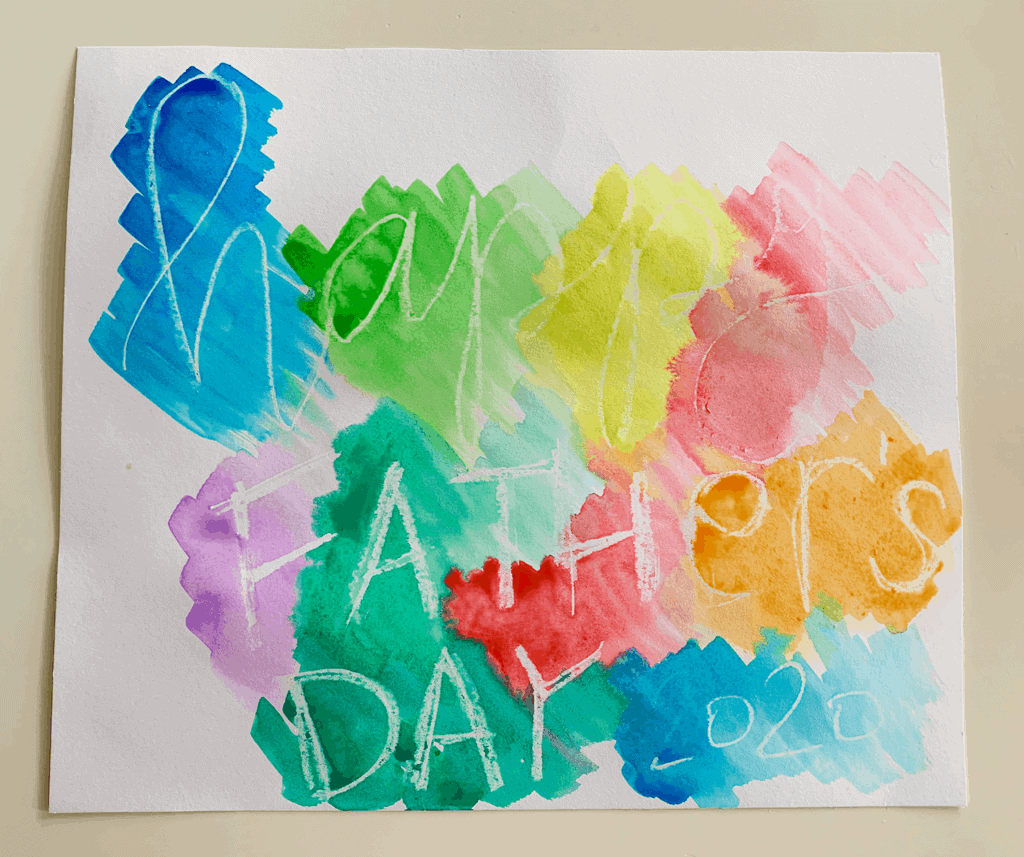
And here’s another that I quickly made for demonstration purposes.
I hope these ideas were helpful if you’re currently scrambling to make something with your kids.
Have a wonderful Father’s Day!
Recommended For You:


These two delightful little creative gifts are truly captivating, and their crafting process is elegantly simple. I have already preserved them, and I extend my gratitude for your sharing. Wishing you joyful days ahead.
Thanks, Byrne! Glad it was a meaningful activity!