Dinosaur fossils with air dry clay is a super simple activity for toddlers and preschoolers that will occupy your kiddos for a while!
It’s fun and the final product is really cool as well 🙂 And the added sensory element definitely make this activity worth trying!
It’ll be a big hit especially if you have littles that are obsessed with dinosaurs. But you can always substitute the dinosaurs with something else (other animals) that your kids enjoy more.
You only need 2 things to do this activity, so I hope you’ll try it out!

Materials Needed:
How to Make Dinosaur Fossils With Air Dry Clay
I’ve seen this activity done with other types of clay or salt dough that you can make at home. However, personally I love using air dry clay for activities since it’s so easy to use.
There’s no prep since it’s already pre-made. All you have to do is take it out of the container, do your activity, and leave it out to dry after you’re done.
Step 1
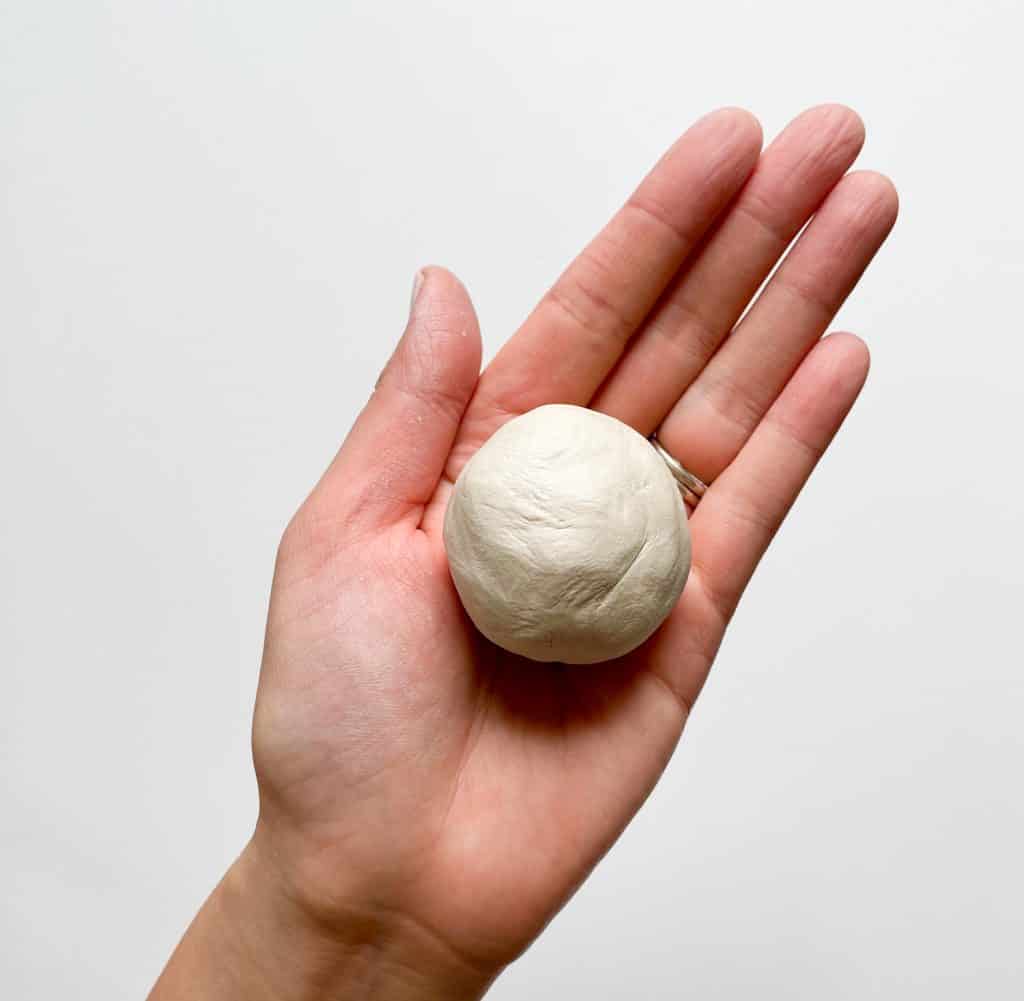
Take a handful of air dry clay out of the container. Roll it into a ball, the size of a donut hole. That’s the best description I can come up with right now. Maybe I’m hungry? 😂

Step 2
Flatten the ball of air dry clay. We tried using a roller to flatten it out, but it ended up getting too thin to press the dinosaurs onto. And when it was too thin, it was also difficult to lift it off of the surface of the table without tearing the clay.
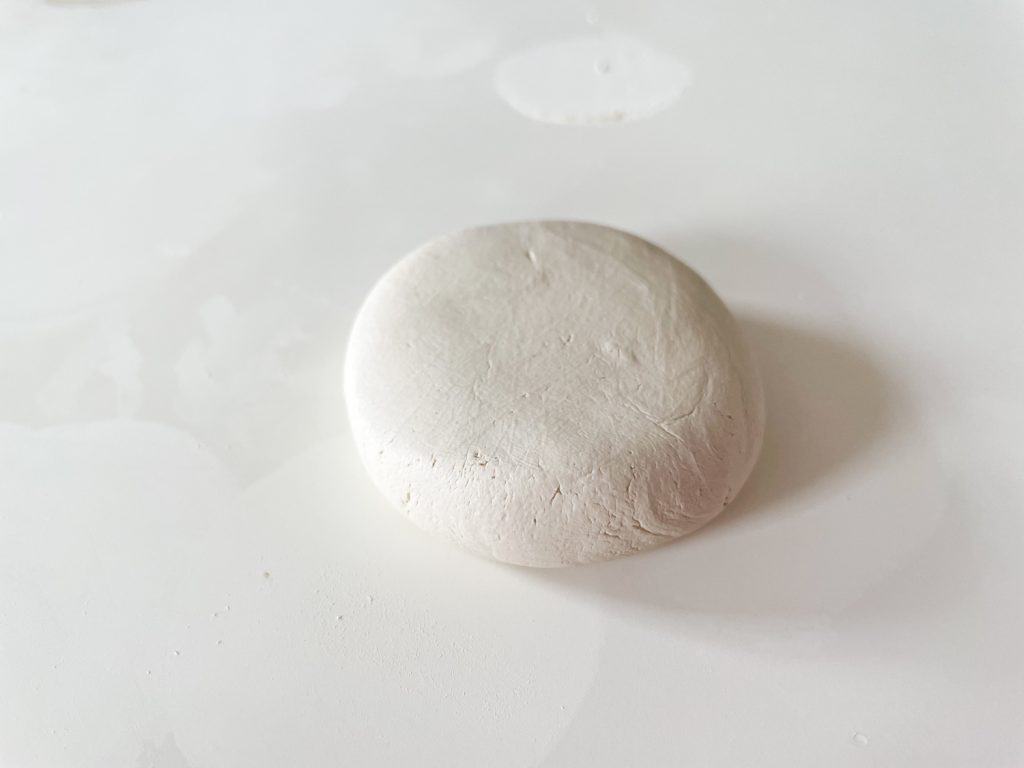
The best method I found was to use the palm of my hand to press the ball of air dry clay onto a table or tray. Since my hand left some handprint marks on the clay, after I flattened the clay, I flipped it over to the other side which was a lot more smooth.
You should ideally be left with a little disc that’s about half an inch thick and about 1.5 inches in diameter. Like in this photo below:

For younger toddlers and preschoolers, you are most likely going to have to do this step for them. I think this was one of the more difficult parts for me, since it was so hard to keep up with their pace!
Step 3
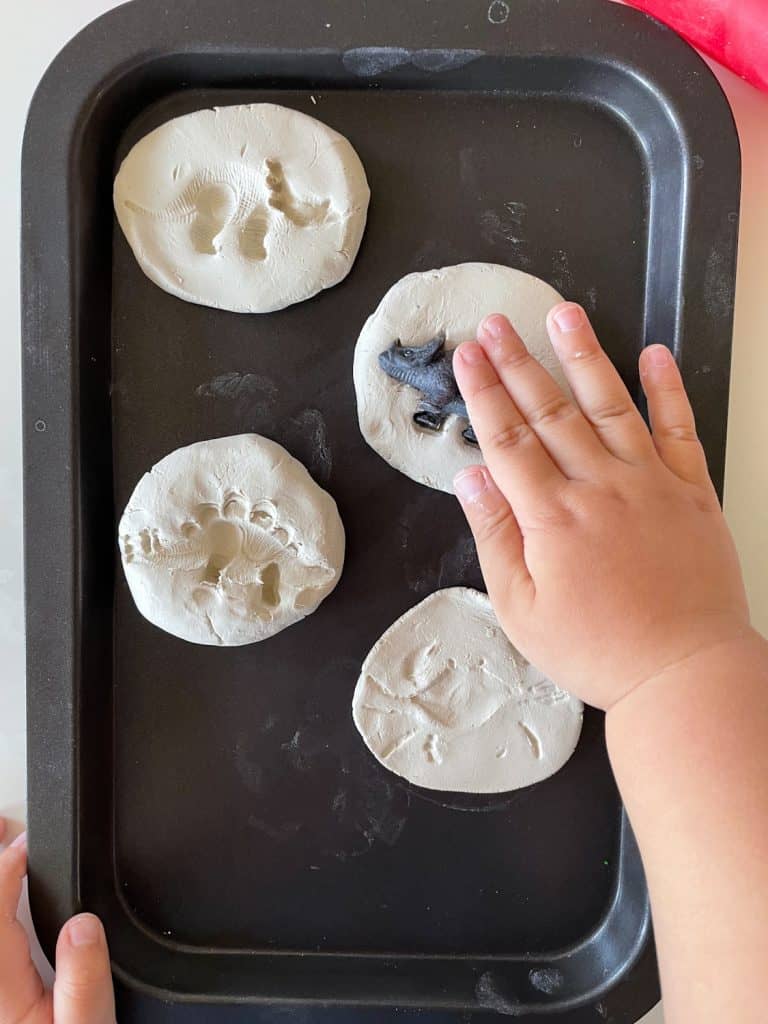
On the smooth surface of the flattened clay, press a dinosaur figurine of your choosing. We used our fingers rather than our palms to press the dinosaurs down. This gave us more control of where we were pressing, and I also made sure to press in every part of the dinosaur so that it didn’t just make a partial imprint in the “fossil”.

I would caution you not to press down too hard so that the dinosaurs get stuck in the air dry clay. We did that a few times, and sometimes we were able to salvage the fossil, but other times we just had to start all over again.
Step 4
Gently lift off the dinosaurs and you’re left with a dinosaur fossil!

Step 5
Lay the clay on a flat surface and let it dry completely. I would give it at least 24 hours to fully dry.

Clean Up
Cleaning up air dry clay is so easy, which is one of many reasons I love it!
We washed the dinosaur figurines in water. And the actually became the second activity for our morning. My boys gave the dinosaurs a “bath” in the bathroom sink 🙂
And for our table, I just wiped it down with a wet cloth and it’s as easy as that!
How to Keep the Leftover Air Dry Clay
As for the leftover air dry clay, to ensure that it wouldn’t dry out, I got some clear wrap and placed it on top of the clay before sealing the container closed with the lid.
And this method seemed to work well, since the last time we used this clay was for our Nature Ornaments back in December!
I Hope You Try It Out!
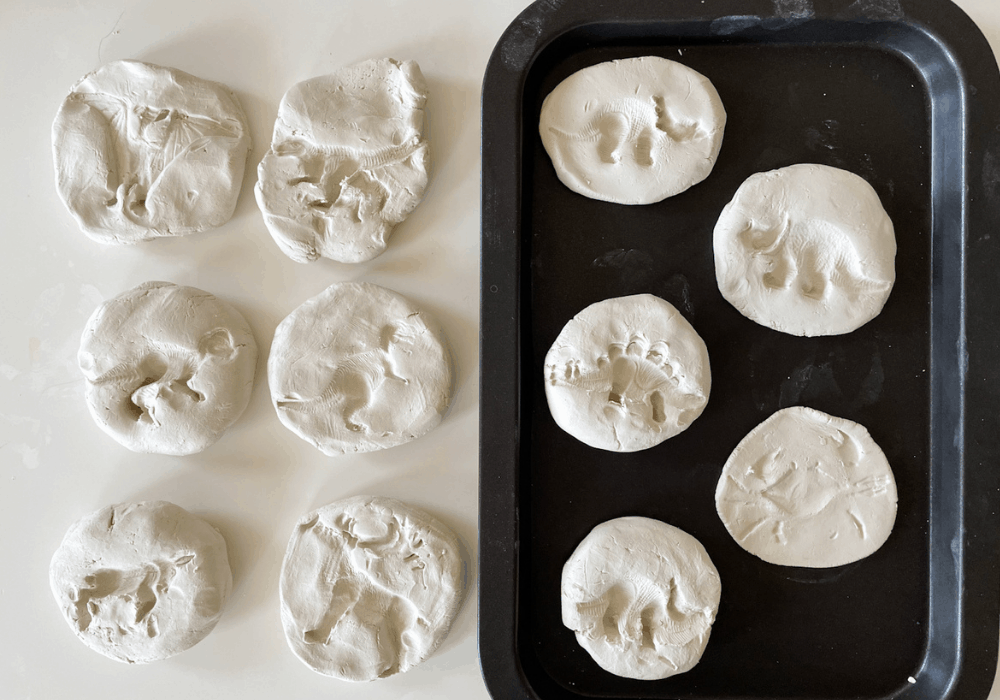
We made multiple fossils for each of the different dinosaurs we have. And also made some for other animal figurines we had lying around our home. My boys could not get enough of these dinosaur fossils with air dry clay!
Recommended For You:
Follow Me on Instagram!
I share our daily activities on Instagram @discoveringmommyhood I hope to see you there!


